LIMITED RELEASE
Lead Capture is available to select customers. If enabled for a customer account, you will be contacted by your Project Manager with more information. If available to exhibitors, you will be notified by the event organizer.
The Lead Capture Admin Portal is a centralized platform that allows event organizers to manage the entire Lead Capture experience for their event. Below is an overview of all sections within the admin portal.
Using the admin portal, event organizers can:
- Enable Lead Capture for exhibitors and set the type
- To learn more about Lead Capture types, read this article.
- Manually add or sell licenses and developer kits
- Customize pricing settings (if applicable)
- Download detailed administrative reports
Summary
The Summary page displays a table of all Lead Capture records (Fig. 1).

Fig. 1 - Lead Capture Admin Portal Summary Page
A Lead Capture record is created automatically for each booth by the Expo Harvester.
- Exhibitors assigned to a booth will be created in Lead Capture.
- The Company Name, Booth #, and Admin data populates from Expo Harvester.
- All updates to this data must be made in Expo Harvester.
- Changes to the data may take a few minutes to sync with Lead Capture.
- For companies in Expo Harvester that don't have a booth #, follow the Booth 0 process to create Lead Capture records. Speak with your expo project manager if you have questions.
The Licenses column shows the total number of licenses for each booth. Revoked licenses are not included in this total.
The Developer Kit column indicates whether a Developer Kit is assigned to the booth. A disabled Developer Kit is not included in this total.
The Type column indicates whether the booth is using the Lead Capture Mobile App (License), the Developer Kit API (Developer Kit), or not using Lead Capture (None). By default, all exhibitors are initially assigned the type 'License'. You can change the type directly on this page. For more information, read this article.
You can Add Licenses for multiple records from this page. For more information, read this article.
You can Add a Developer Kit for multiple records from this page. For more information, read this article.
The table displays 10 records by default. This can be adjusted to show up to 100 records on a single page. You can sort the table by any column and search dynamically across columns.
Settings
The Settings page allows you to configure the exhibitor experience in the Lead Capture Exhibitor Portal. Pricing settings will only display if the sales features are included in your contract (Fig. 2). Settings must be configured before allowing exhibitors to log in.
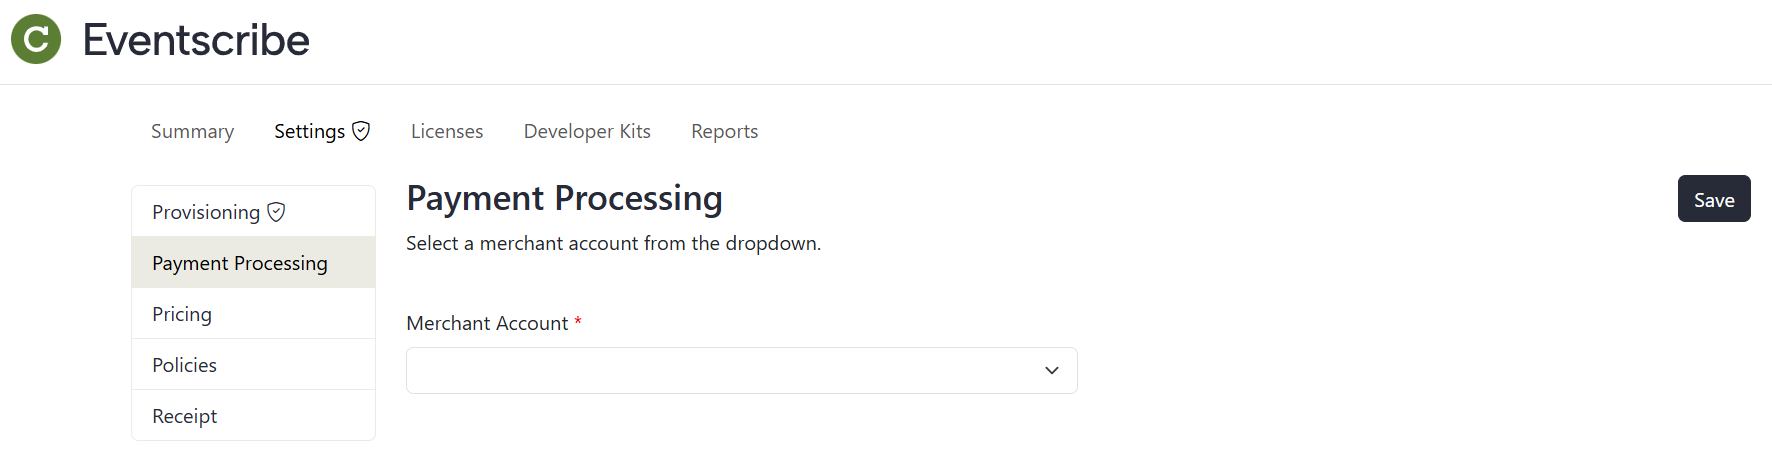
Fig. 2 - Lead Capture Admin Portal Settings Page
Licenses
The Licenses page displays a table of each license associated with a booth record (Fig. 3).

Fig. 3 - Lead Capture Admin Portal Licenses Page
The Activation Code column shows the unique code required to activate the license. This column is masked by default. You can reveal all codes in the column by selecting the Show Codes button. Select the copy icon next to a code to copy it to your clipboard.
The App User column displays the name and email of the person who activated the license. This information appears only for records with an Activated status.
The Status column indicates whether the license is Activated or Not Activated. By default, all licenses show as Not Activated until a booth staff person activates the license.
You can manually Add $0 License(s) for an individual booth from this page. For more information, read this article.
If the sales features are included in your contract, you can manually Add License(s) and process payment for an individual booth from the Licenses page.
The table displays 10 records by default. This can be adjusted to show up to 100 records on a single page. You can sort the table by any column and search dynamically across columns.
Developer Kits
The Developer Kits page displays a table of the Developer Kit associated with each booth record.
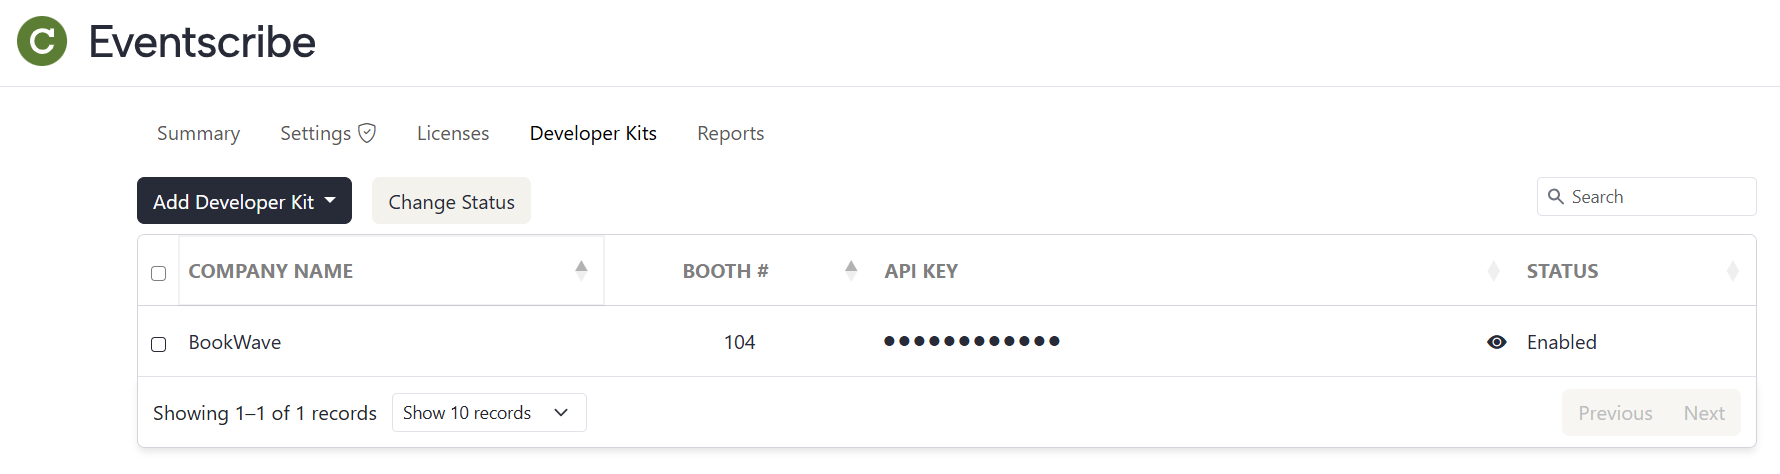
Fig. 4 - Lead Capture Admin Portal Developer Kits Page
The API Key column shows the unique key required for each booth to access the Developer Kit API. This column is masked by default. You can reveal all keys in the column by selecting the Show API Keys button. Select the copy icon next to a key to copy it to your clipboard.
IMPORTANT NOTE
When emailing a key to an exhibitor, we strongly recommend using a secure password sharing service; there are free options available. Be sure to include a link to the Developer Kit API documentation in your email.
The Status column indicates whether the API Key is Enabled or Disabled. All keys are Enabled by default. If a key is disabled, it cannot be used to access the Developer Kit API. You may want to disable a key if an exhibitor has changed their mind and no longer intends to use the Developer Kit API.
You can manually Add a $0 Developer Kit for an individual booth from this page. For more information, read this article.
If the sales features are included in your contract, you can manually Add a Developer Kit and process payment for an individual booth from the Developer Kits page.
The table displays 10 records by default. This can be adjusted to show up to 100 records on a single page. You can sort the table by any column and search dynamically across columns.
Reports
The Reports page allows you to download administrative reports as Excel (.xlsx) files. If the sales features are included in your contract, you will also have access to financial reports (Fig. 5).

Fig. 5 - Lead Capture Admin Portal Reports Page
Was this article helpful?
That’s Great!
Thank you for your feedback
Sorry! We couldn't be helpful
Thank you for your feedback
Feedback sent
We appreciate your effort and will try to fix the article