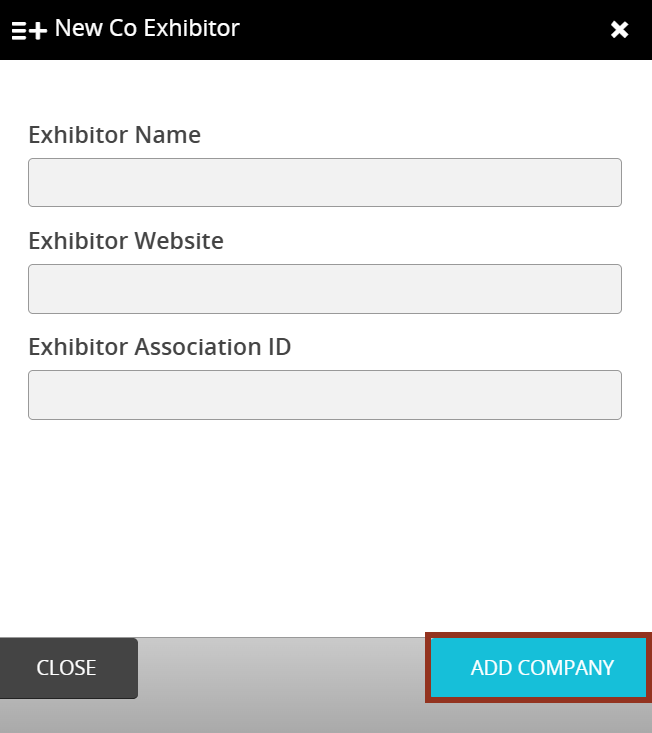
- To add a new co-exhibitor, fill in the company information: Exhibitor Name, Exhibitor Website (if applicable), and Exhibitor Association ID (if applicable).
Select Add Company.
This article outlines how to add co-exhibitors to the Expo Harvester. The co-exhibitor option will assign one main exhibitor to a booth. Within the booth popup, the main exhibitor's profile data will display. A button will appear in the bottom right corner of the popup that when selected will display a list of any co-exhibitors associated with that booth. Clicking on a co-exhibitor will link to their website.
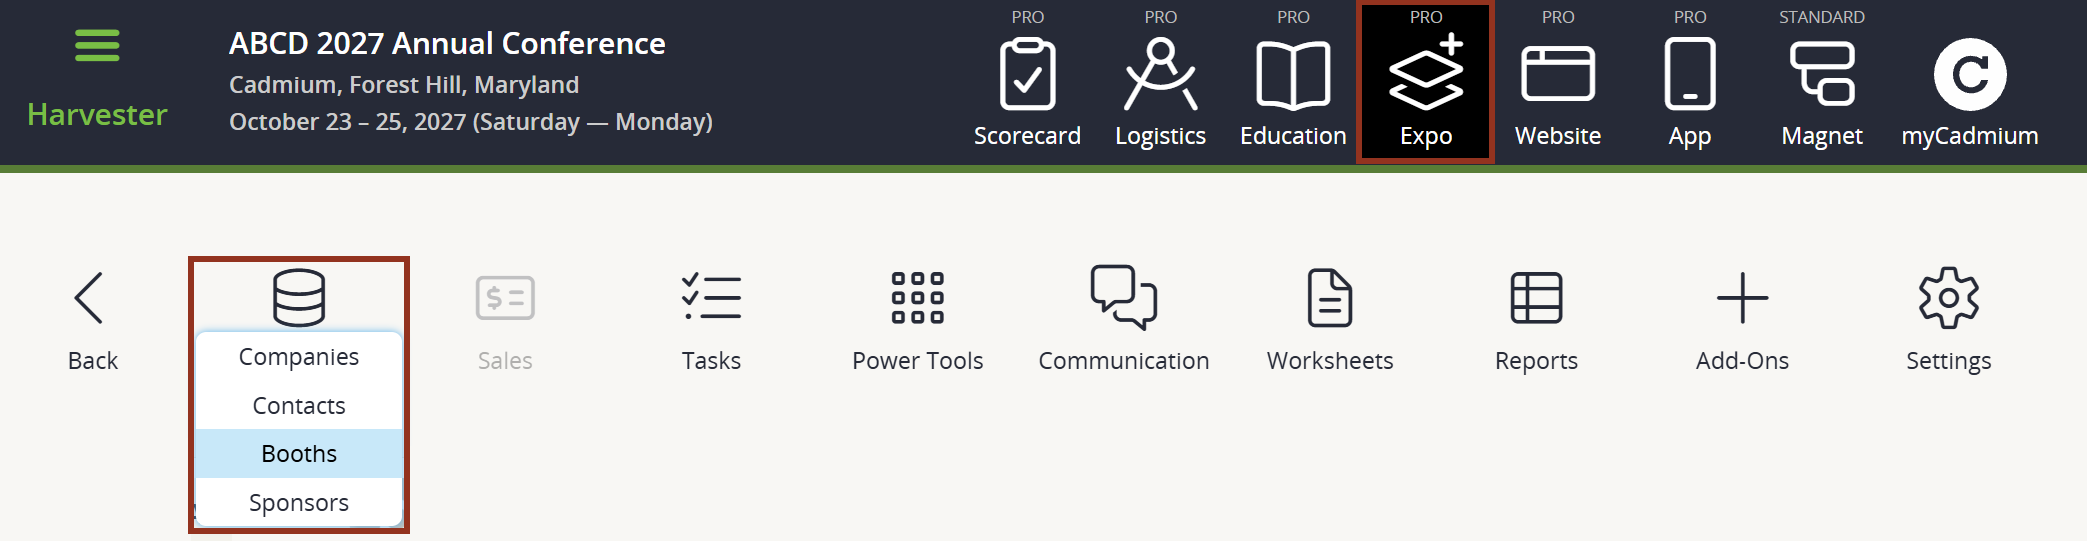
Fig. 1 - Expo Harvester's Expo Data Icon.
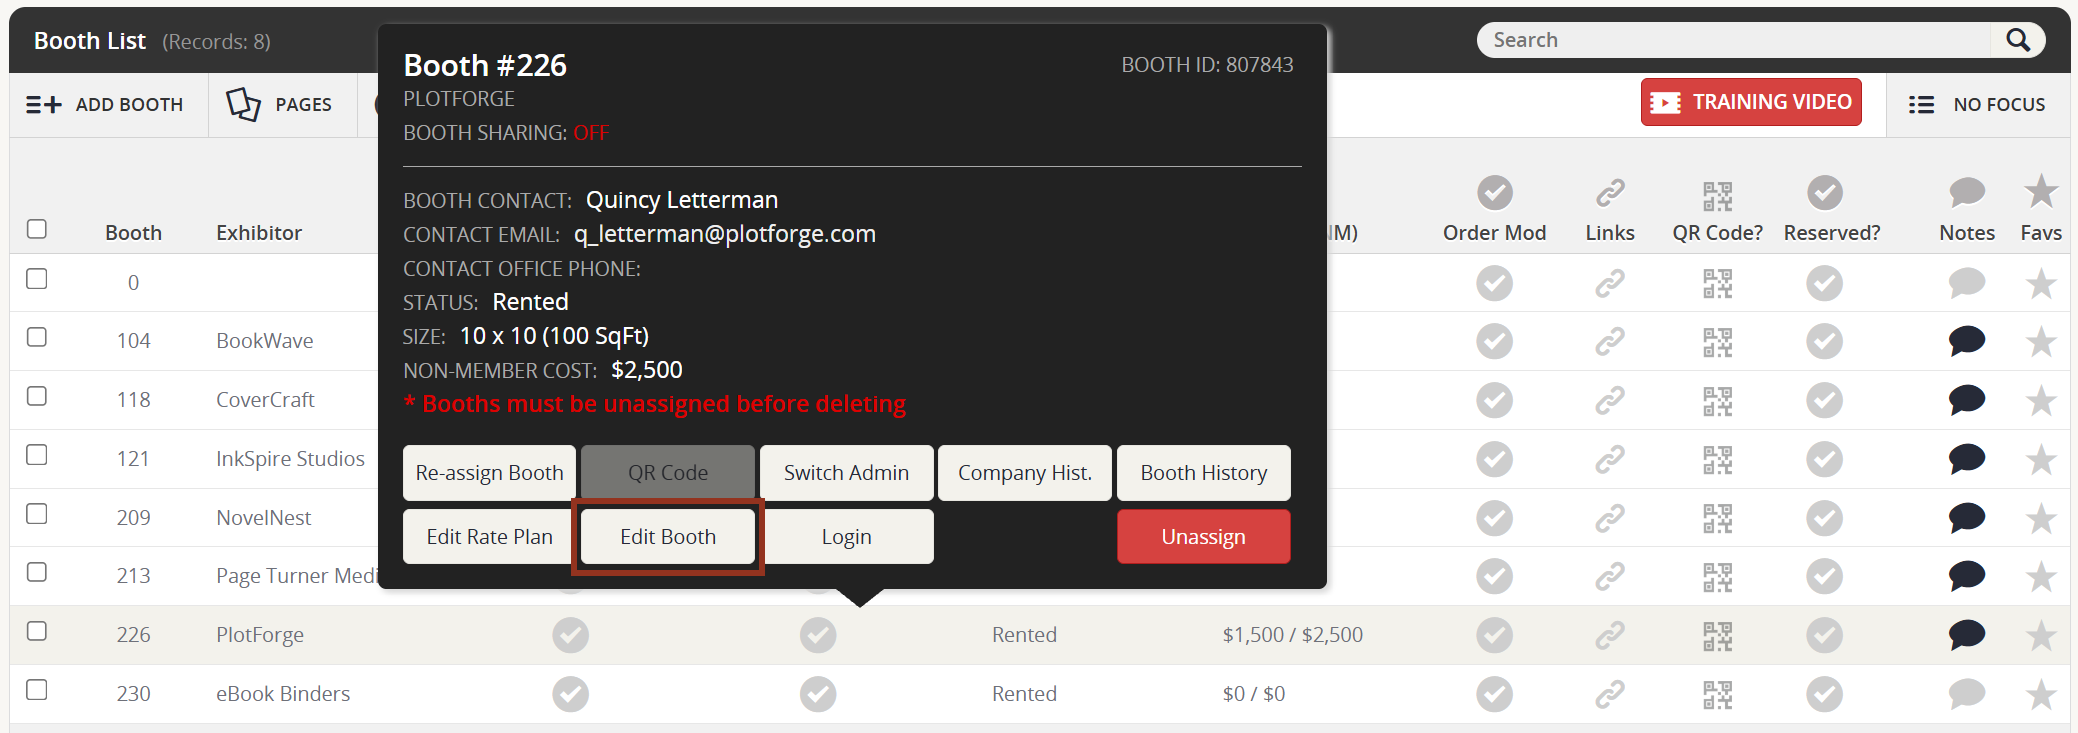
Fig. 2 - Booth Row Pop-up Edit Booth Button.
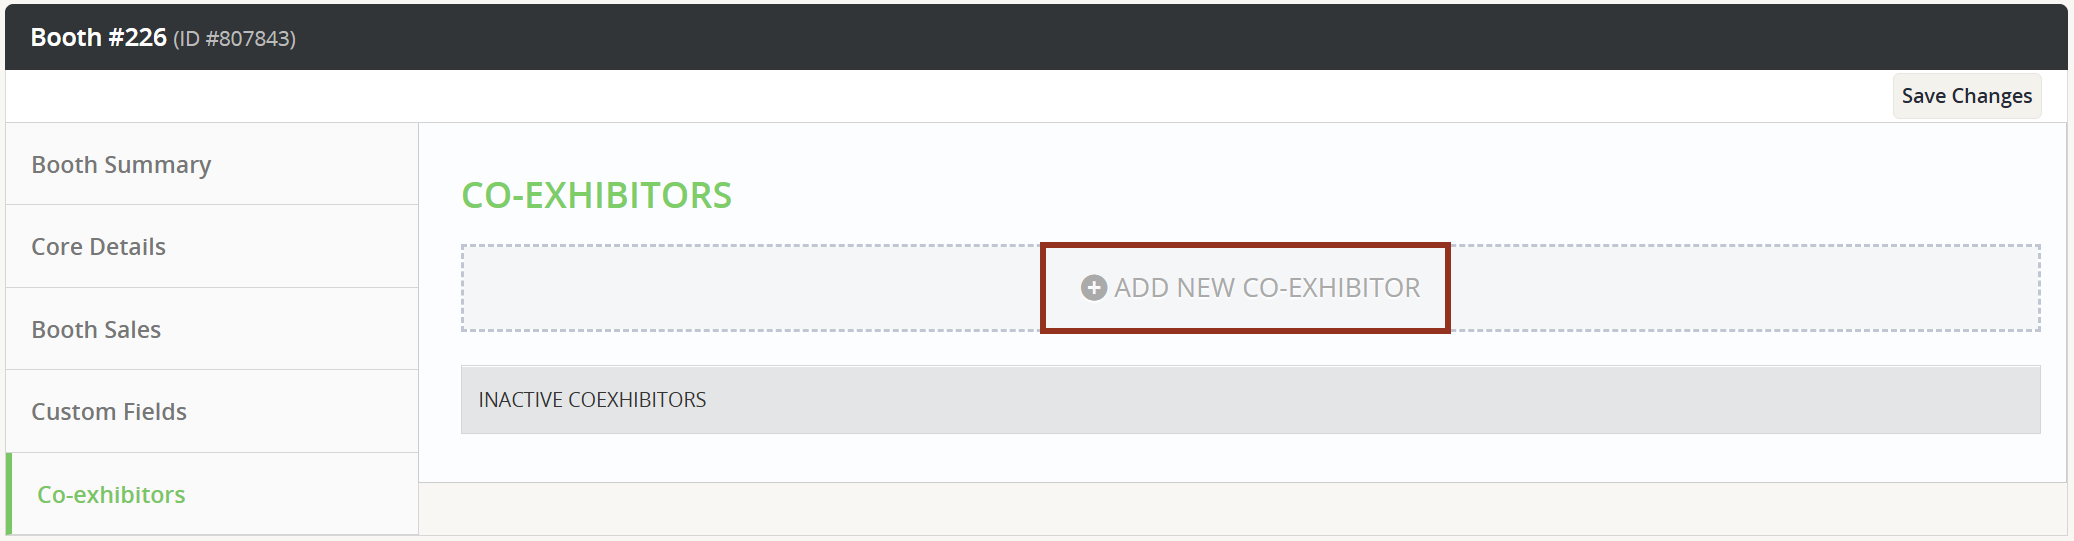
Fig. 3 - Add A New Co-Exhibitor Bar.
A dropdown will appear, from which you can select a company that has already been added to the Expo Harvester and marked as a co-exhibitor.
If the desired company has not yet been added to the Expo Harvester, click Add a new one (Fig. 4).
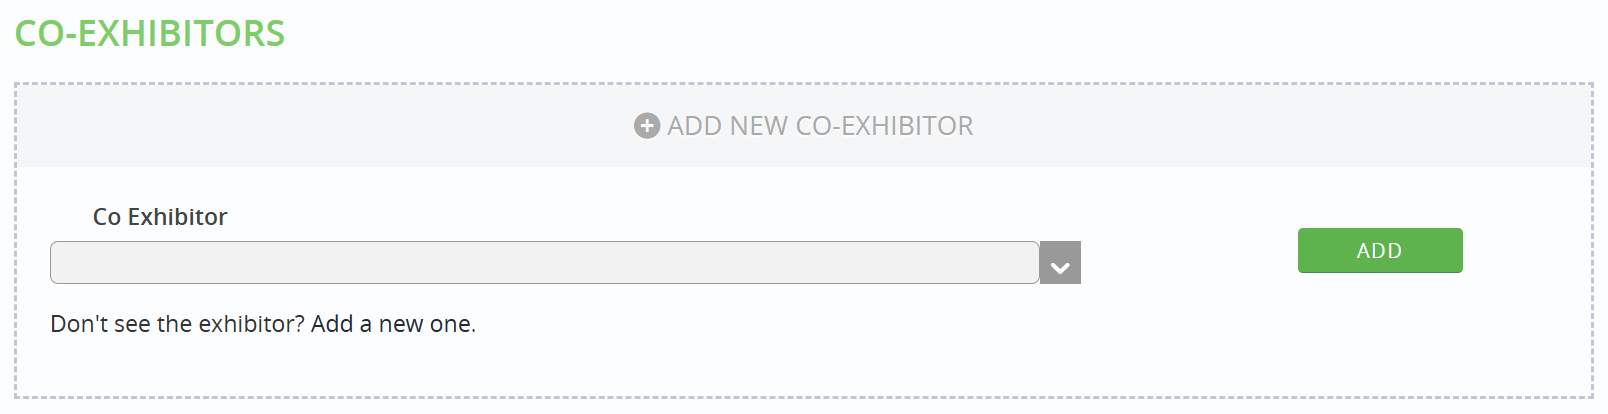
Fig. 4 - Co-Exhibitor Dropdown.
Select Add Company.
Before leaving the page, review the list of co-exhibitors. You can use the drag handle tool to the left of each company name to adjust the order, or the trash can tool on the right of each name to delete a company from the list.
Do not forget to click the Save Changes button in the top right corner of the page (Fig. 6).
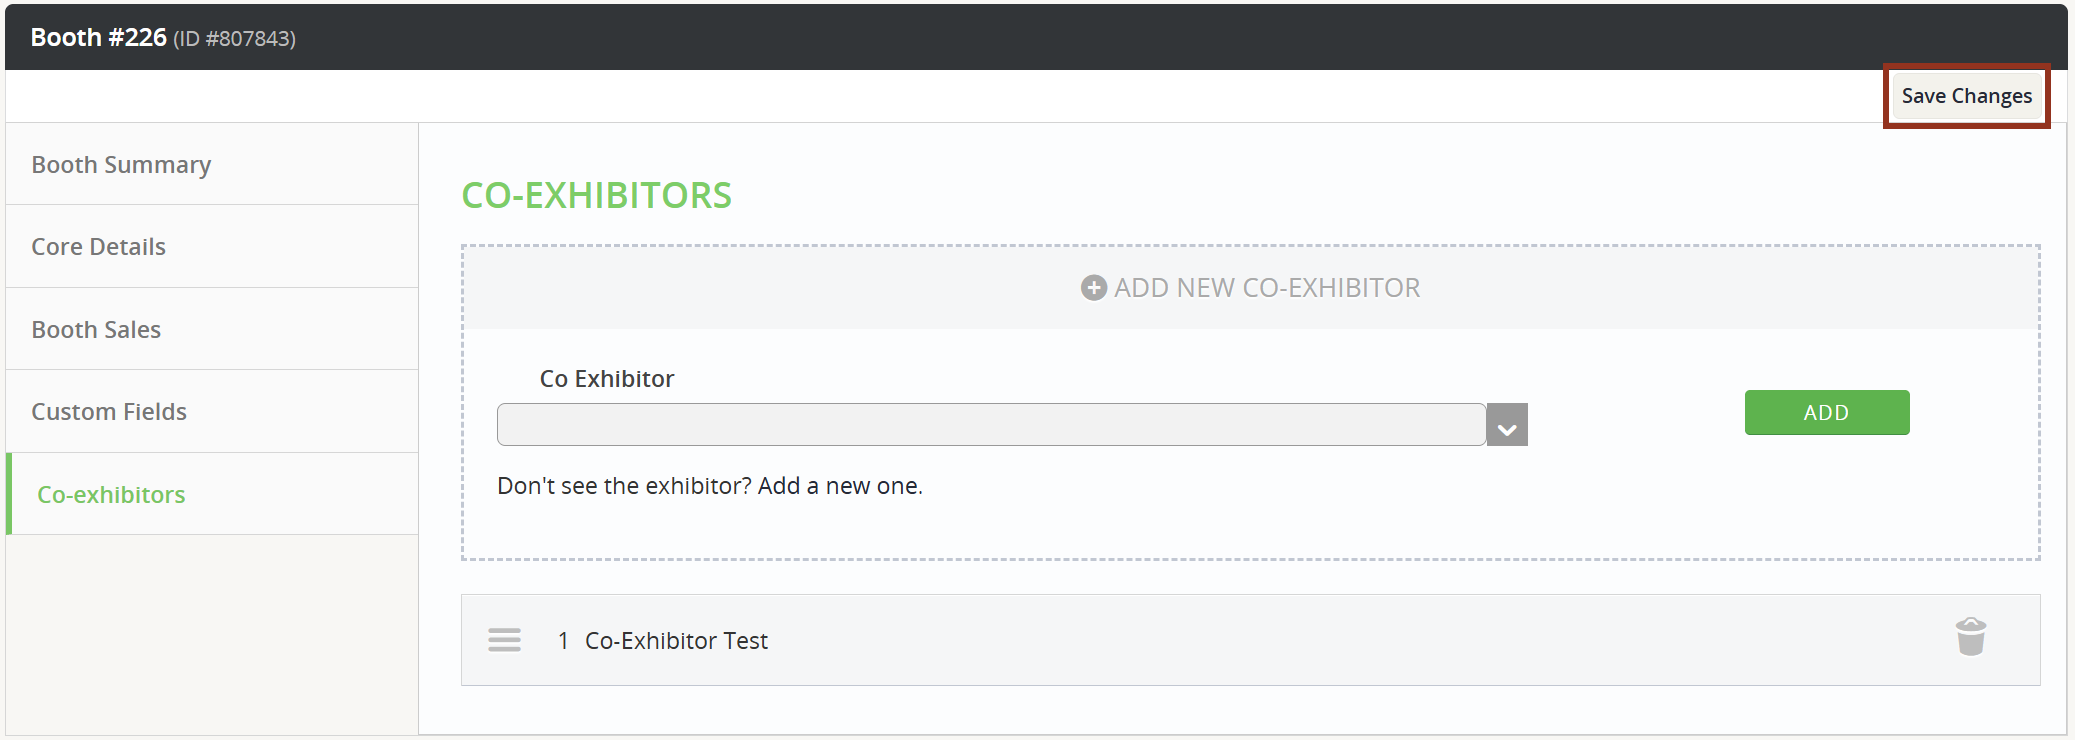
Fig. 6 - Co-Exhibitors Tab.
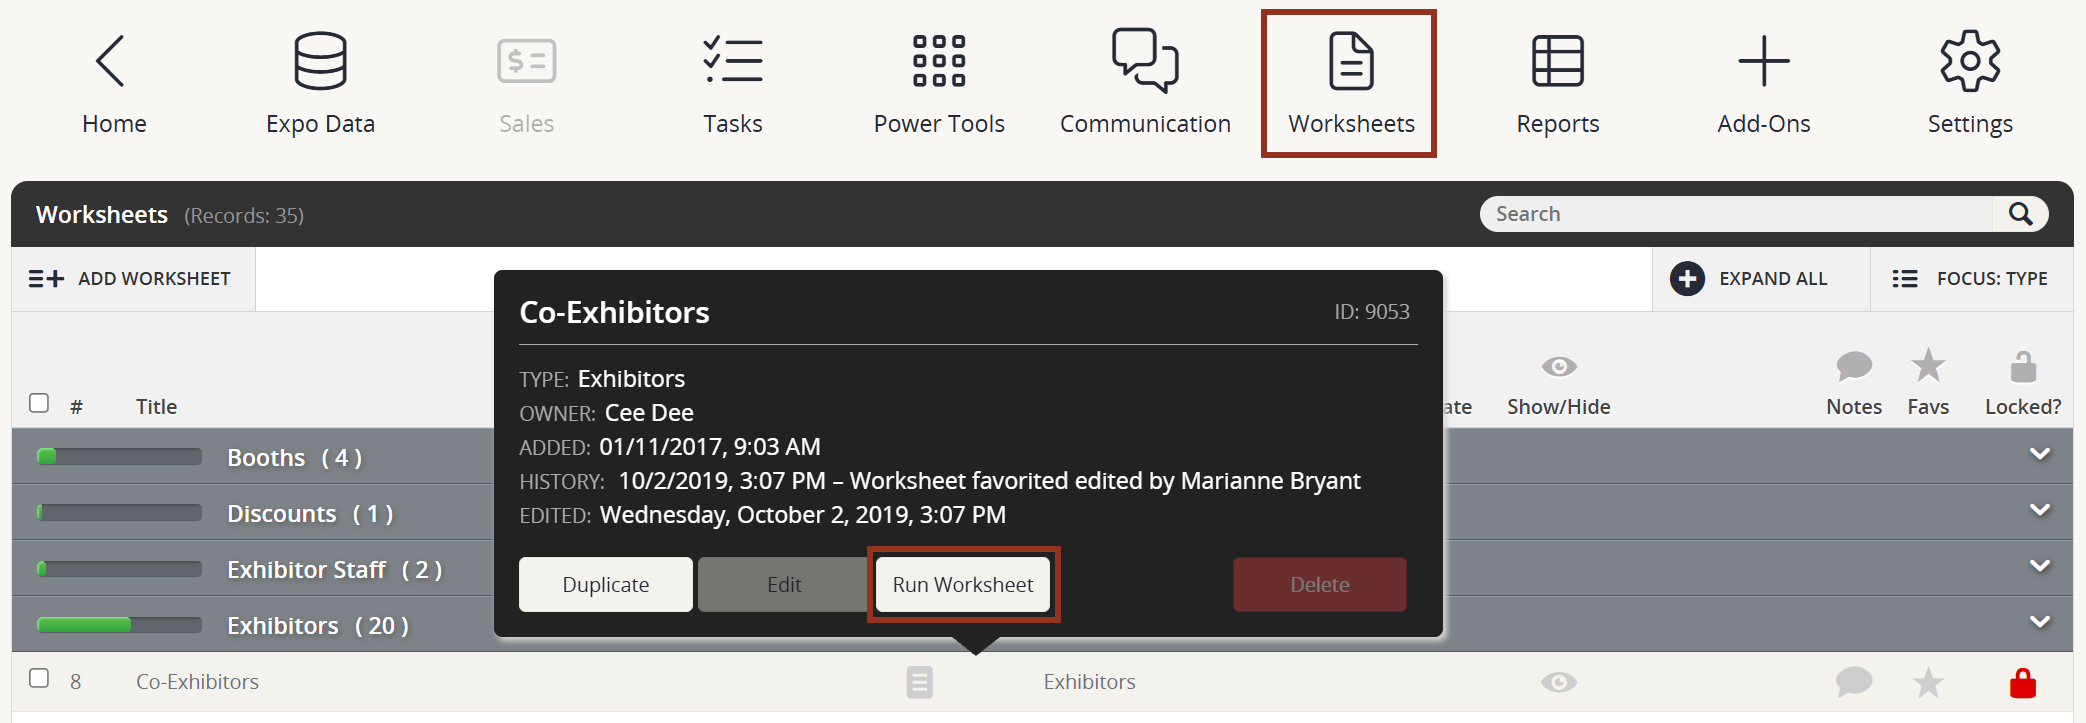
Fig. 7 - Co-Exhibitor Worksheet Row Poup.
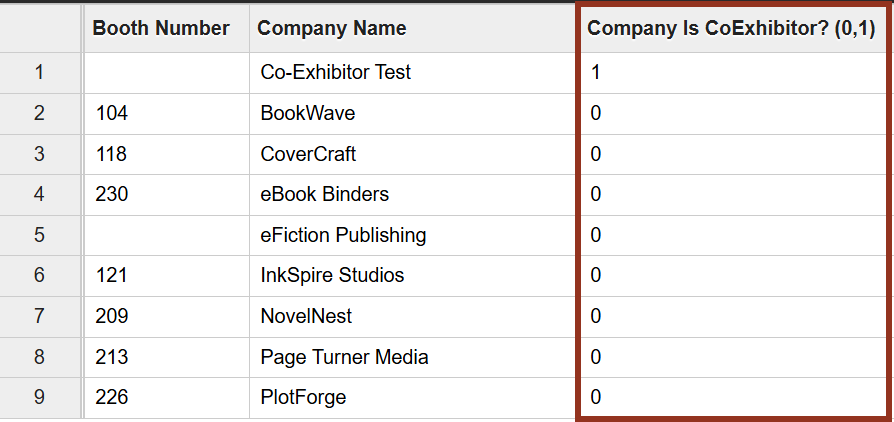
Fig. 8 - Co-Exhibitor Worksheet.
Booth sharing allows up to four companies to rent one booth. When a booth is selected on the floorplan, the booth popup will appear and display a list all the companies associated with that booth. When one of the company's names are selected, additional information from their company profile will show (logo, company description, keywords, contact info, social media links, etc.) This will show in the app.
The Co-exhibitor option will assign one overall/main exhibitor to a booth. When the booth popup is activated, the main exhibitors profile data will display, and a button will appear in the bottom right of the popup. When that button is selected, any additional companies associated with that booth will appear in a list format and a link to their website. Co-Exhibitors DO NOT show in the app.
That’s Great!
Thank you for your feedback
Sorry! We couldn't be helpful
Thank you for your feedback
Feedback sent
We appreciate your effort and will try to fix the article