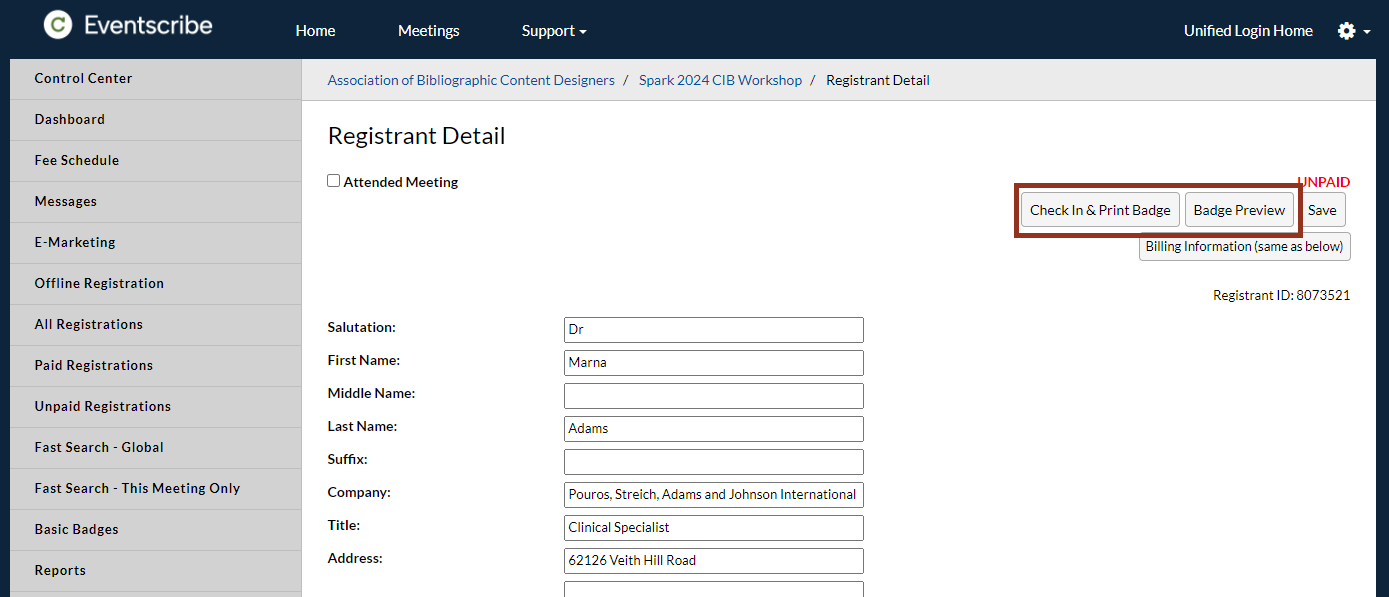
Select Badge Preview to generate a PDF example of the badge with a watermark.
If an attendee requires assistance during the check-in process, a member of the onsite support staff can access the Registrant Detail page in Registration to manually check-in the attendee and print the badge to the check-in kiosk. To do this, a badge template must already be set for the event. This will trigger the Check In & Print Badge and Badge Preview buttons to appear in the Registrant Detail screen.
NOTE
If the Check In and Print Badge and Badge Preview buttons do not display after you set the On-Demand Badge template for your event, please contact your registration project manager to ensure proper event configuration.
To manually check-in and print the attendee’s badge:
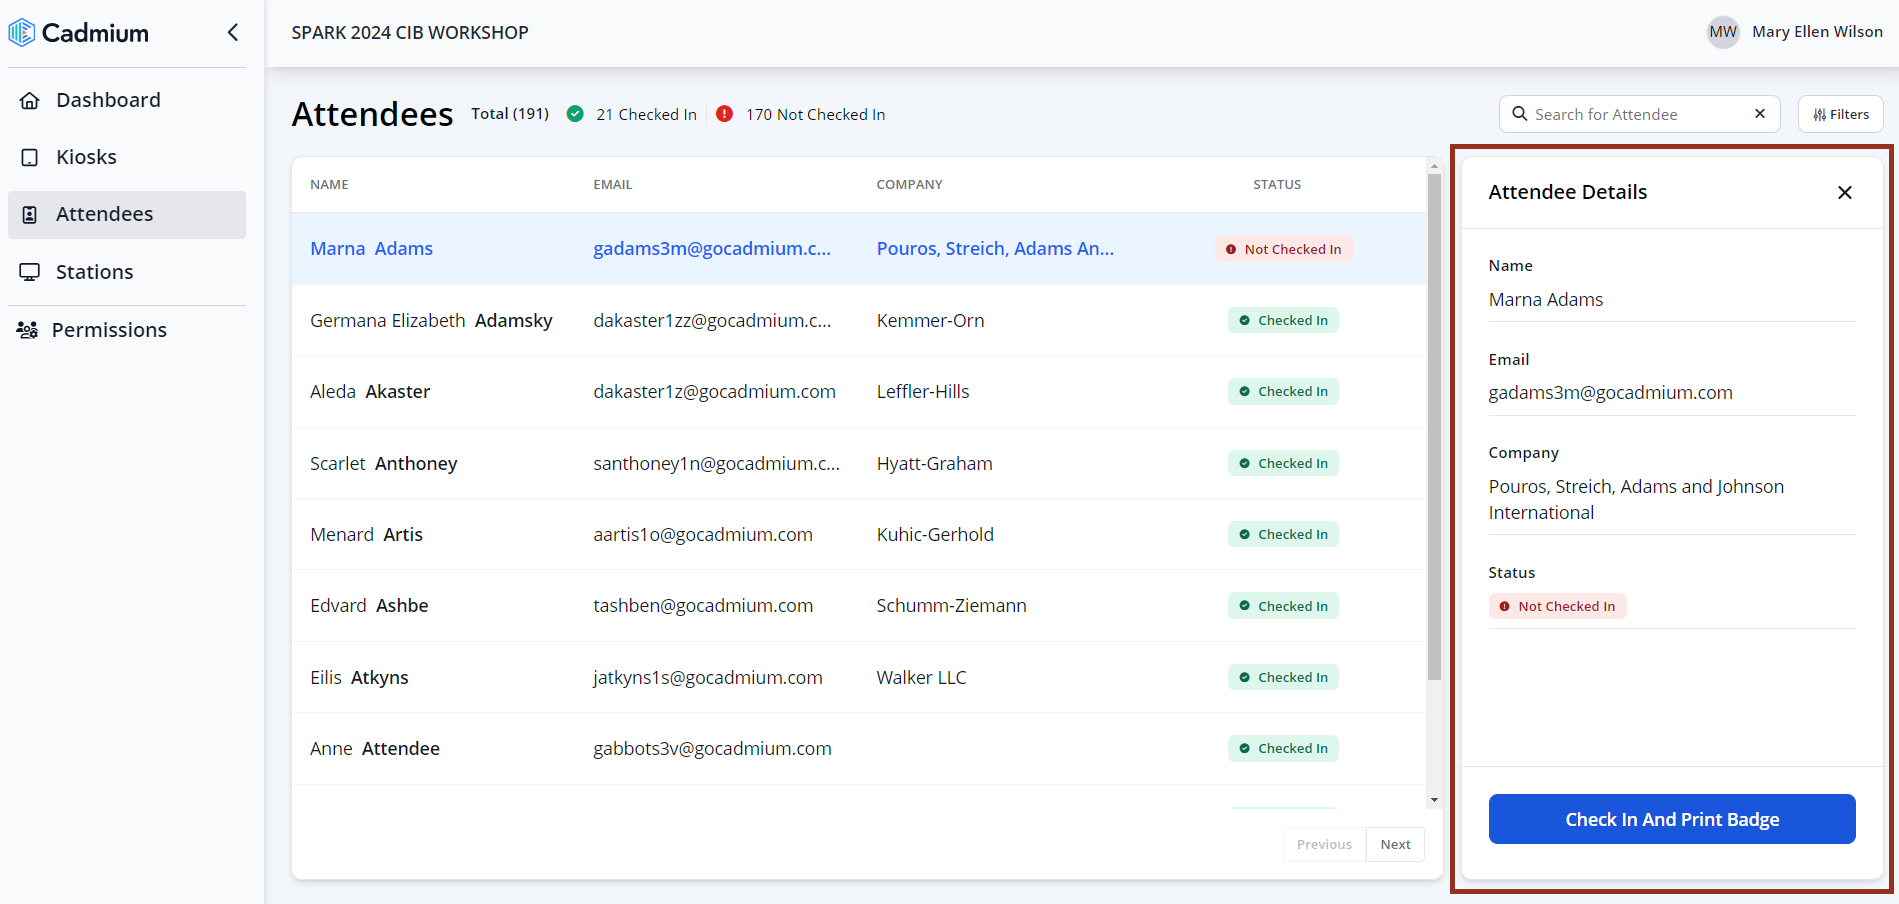
- Select the Check-In and Print Badge button on the Registrant Detail page to open the Attendee panel in Eventscribe Onsite for the selected attendee.
- From the Select Kiosk dropdown, select the Check-in kiosk where the badge should print and select Check In and Print Badge.
- The attendee’s badge will print at the selected kiosk.
- The attendee will be marked as checked-in and the badge will be logged as printed on the Printed Badges report.
To learn more about the next steps for implementing Check-in and Badging at your event, return to the Check-in and Badging Event Organizer's Guide.
Last modified Mar 19, 2025
Was this article helpful?
That’s Great!
Thank you for your feedback
Sorry! We couldn't be helpful
Thank you for your feedback
Feedback sent
We appreciate your effort and will try to fix the article