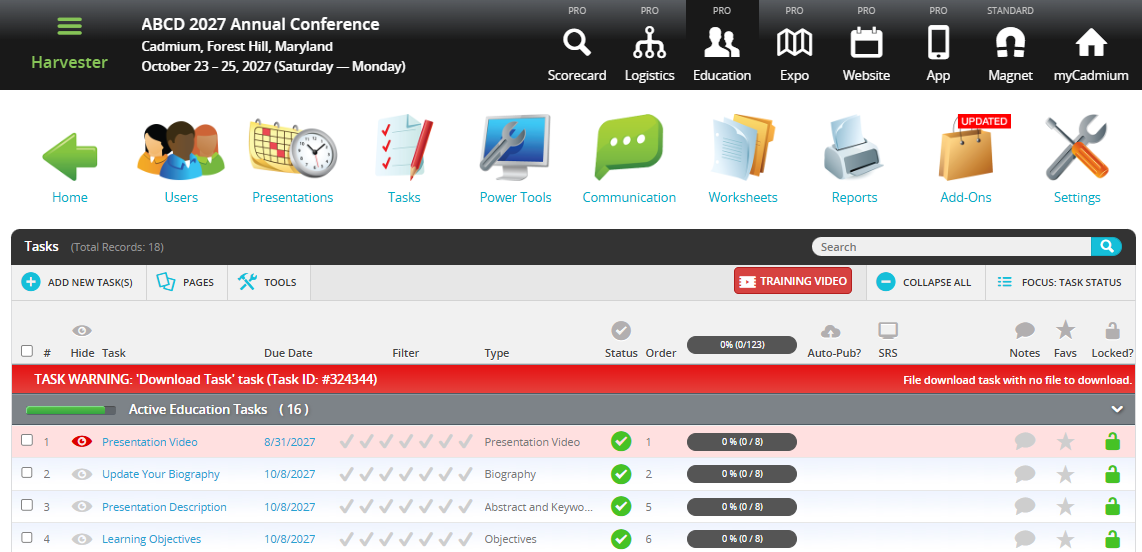
- From the Tasks page in your Education Harvester, click on the row for the Presentation Video Task.
- Then, select the Edit button.
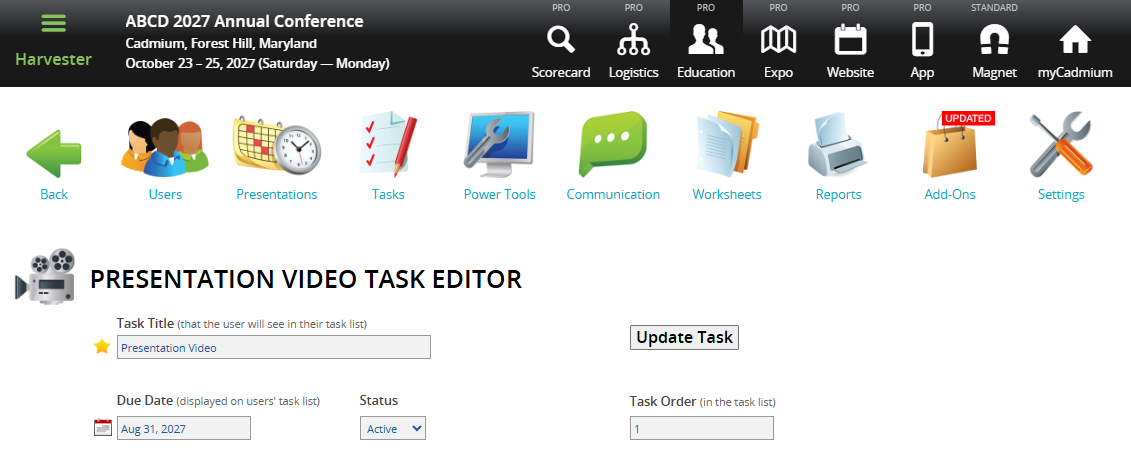
The following steps explain how to edit and activate a Presentation Video Task after it has been added from the Task Index.

- In the task editor, modify the following:
- Task Title: This is the name users will see on their Task List.
- Due Date: Sets a visual (not enforced) deadline for users.
- Status: Set to Active to make the task visible to users.
- Task Order: Determines the position of the task on the Task List.
NOTE
To enforce a submission deadline, use the "Cutoff Date to Receive Data" setting further down the page. The visual Due Date turns red after passing but does not block submissions.
- Apply these optional filters:
- Course Filter: Filter the task to presentations with a specific Course Name. Course Names can be added or updated in Worksheet E (Course Name column). If you migrated data from Scorecard, this dropdown usually reflects Scorecard Submission Types.
NOTE
This filter won’t appear unless Course Names exist in the system. Contact your Education Harvester Project Manager if clarification is needed.
- Track Filter: Use checkboxes to filter by Track(s). Tracks can be managed in the Core Details panel of each presentation or updated via presentation-focused worksheets.
NOTE
Track filters will only display if Tracks are available. Contact your Project Manager with questions
- Build Code Filter: Filter presentations using Build Codes:
- P = Presentation
- G = General
- H = Hidden
- M = Session
NOTE
Only use Build Codes that currently exist in your Harvester. You can view them in presentation worksheets or the Core Details panel. Contact your Project Manager for assistance if needed.
- Establish a Cutoff date to receive data which will prevent users from submitting after a specific date. For example: Set this to August 1 to block submissions after July 31.
- Modify these Additional Task Settings.
- Achievement Autocomplete: Set to Yes to mark the task complete for all co-presenters once one person completes it.
- Apply ONLY to First User: Set to Yes to assign the task only to the first user on the presentation list.
- Adjust the Text Label on the Continue button, if desired.
- Add user-facing instructions in the following fields:
- Recording Instructions
- Upload Instructions
- Multi-Presentation Instructions
- Add messages for task states:
- To Do Message
- Completion Message
- Task Completion Message
- Decide whether video recording will be required to complete the task.
CADMIUM RECOMMENDS
We recommend requiring a recorded video for each presentation. However, if you choose to allow speakers to opt out, you will need to configure the message they will see when choosing to skip video recording.
- Decide if speakers can skip recording for specific slides. If you allow this option, configure the opt-out text that will appear for speakers when they choose not to record a particular slide.
- Choose whether to display the date and time with the presentation title.
- Leave this setting toggled to Yes to display the session’s date and time.
- Toggle to No if the presentation is marked as On-Demand and should not display a specific time.
- Set the maximum recording time per slide. Choose a limit between 1 and 10 minutes per slide. When the speaker begins recording, a red bar will appear to indicate the time remaining for that slide.
NOTE
If the speaker approaches the total maximum time allowed for the full presentation, the system will adjust the available time per remaining slide accordingly. Once the total time limit is reached, only 10 seconds will be available per remaining slide.
The 10-minute maximum is recommended to ensure optimal performance, as saving each minute of recorded video typically takes 1–2 minutes to process.
- Set the minimum and maximum recording times for the full presentation. These limits ensure presentations are within a consistent and manageable length.
- By default:
- Minimum: 75% of the total presentation time
- Maximum: 100% of the total presentation time
- By default:
- Filter by Role or User (Optional)
- Role Filter
- To see which roles are active, navigate to the Settings page, expand the General tab and select Role Filter.
- In the task editor, select only the roles you want the task shown to.
- Speaker Filter
- You may also assign the task to specific users by selecting names from the user list.
- Role Filter
IMPORTANT NOTE
You cannot use both the Faculty Role Filter and the Speaker Filter at the same time.
NOTE
If a task should be visible to all users, leave filters unselected.
- Finalize and Test
- Select Update Task in the upper right corner of the page to save your changes. If any required fields are missing, a warning message will appear at the top of your screen.
- Test the task by logging in as a user to ensure everything is working as expected.

- Hide the Task from Users (Optional)
- To temporarily hide a task from users, toggle the eye icon next to the task title.
- The row will turn pink, indicating it is hidden from users but still visible to administrators.
If you have questions or need any assistance, please reach out to your Project Manager.
Last modified Jun 20, 2025
Was this article helpful?
That’s Great!
Thank you for your feedback
Sorry! We couldn't be helpful
Thank you for your feedback
Feedback sent
We appreciate your effort and will try to fix the article