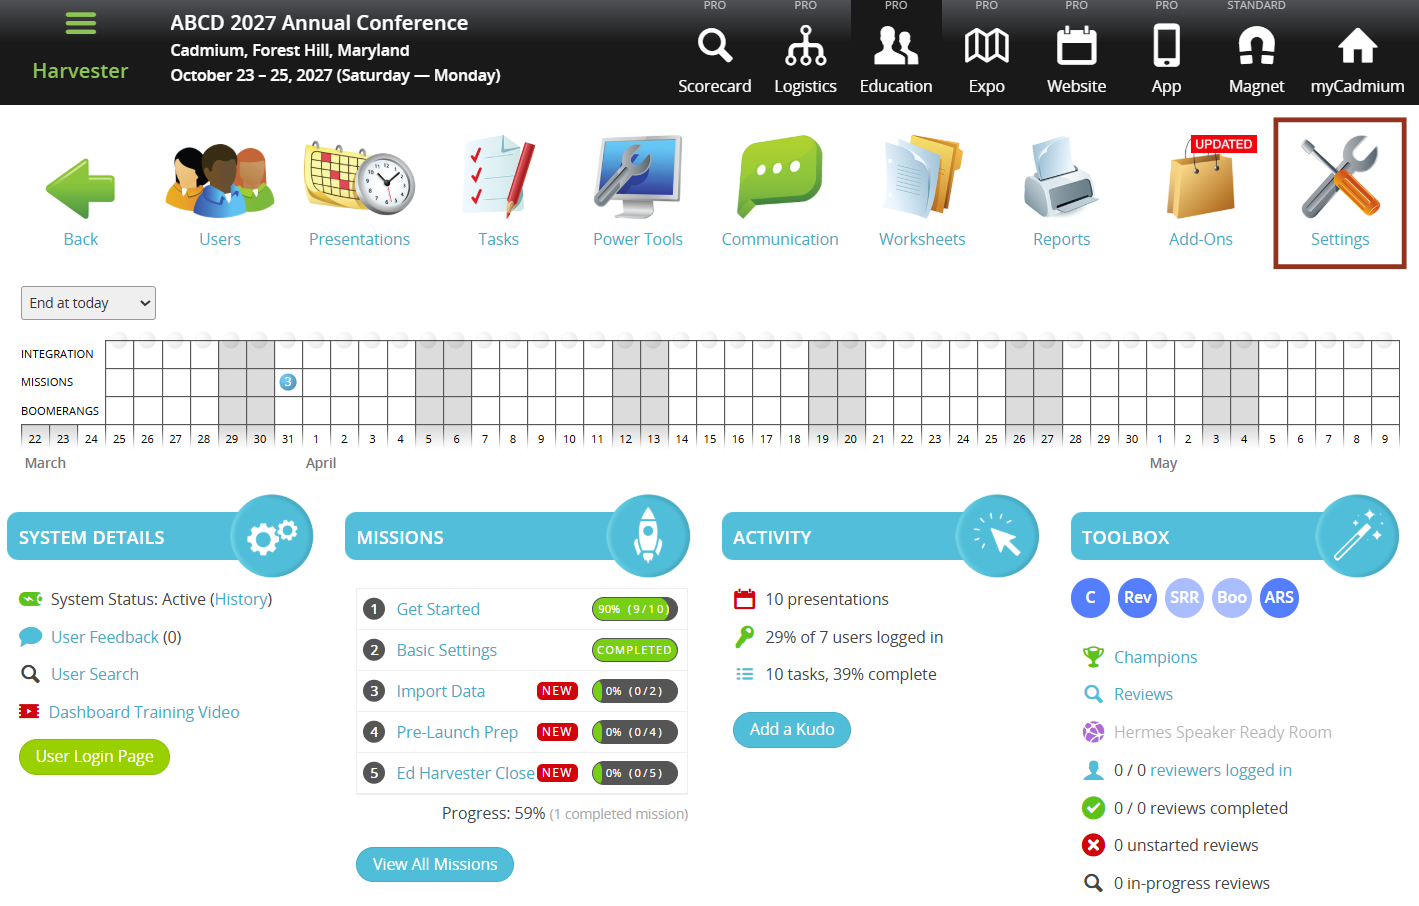
To manually configure the settings, open the Settings page by clicking the Settings icon in the Education Harvester dashboard, then follow the steps outlined below.
The Education Harvester Settings page allows administrators to customize a wide range of global configurations for their event. Key settings include updating event dates, time formats, banners, color themes, contact details, and speaker site labels.
NOTE
Settings from a previous Education Harvester can be copied over as an alternative to manual configuration. Refer to this article for detailed instructions on how to import settings from a past Education Harvester.
NOTE
Some of the settings described in this article may not need to be changed or may not apply to the event.
Event Settings
To update the event settings, expand the General tab and select Event Settings. Review and update the following event settings:
- Harvester Closing Date: This should be set to the last day of the event. If left unchanged, the default date of January 1, 1900 will display to users.
- Harvester Lockout Date: This controls when the login box will be hidden from the Education Harvester Speaker Login Page. It is typically set 30 to 60 days after the Closing Date.
After updating any fields in this section, select the Save Changes button before moving to another section.

NOTE
The Lockout Date does not affect the Expo Harvester.
Time Options
To configure time settings, follow the steps below:
- Expand the General tab and select Harvester Setup.
- Select the appropriate Time Zone.
- Choose a Time Display Format: Normal or Military Time.
- Enable or disable the Add to Calendar link that appears below presentation times on the public site.
- Select the Save Changes button.

Banner Upload
To add a banner to the speaker site, follow these steps:
- Expand the Appearance tab and select Banners.
- Click Upload and select the image file.
NOTE
The image should be 1920 x 280 pixels (PNG format recommended).
- Select the Save Changes button.

Theme Colors
To adjust the visual style of the speaker site, follow these steps:
- Expand the Appearance tab and select Theme.
- Use the color picker to match colors to the uploaded banner or event branding.
- Select the Save Changes button.
All changes will reflect on the login page and throughout the speaker interface.

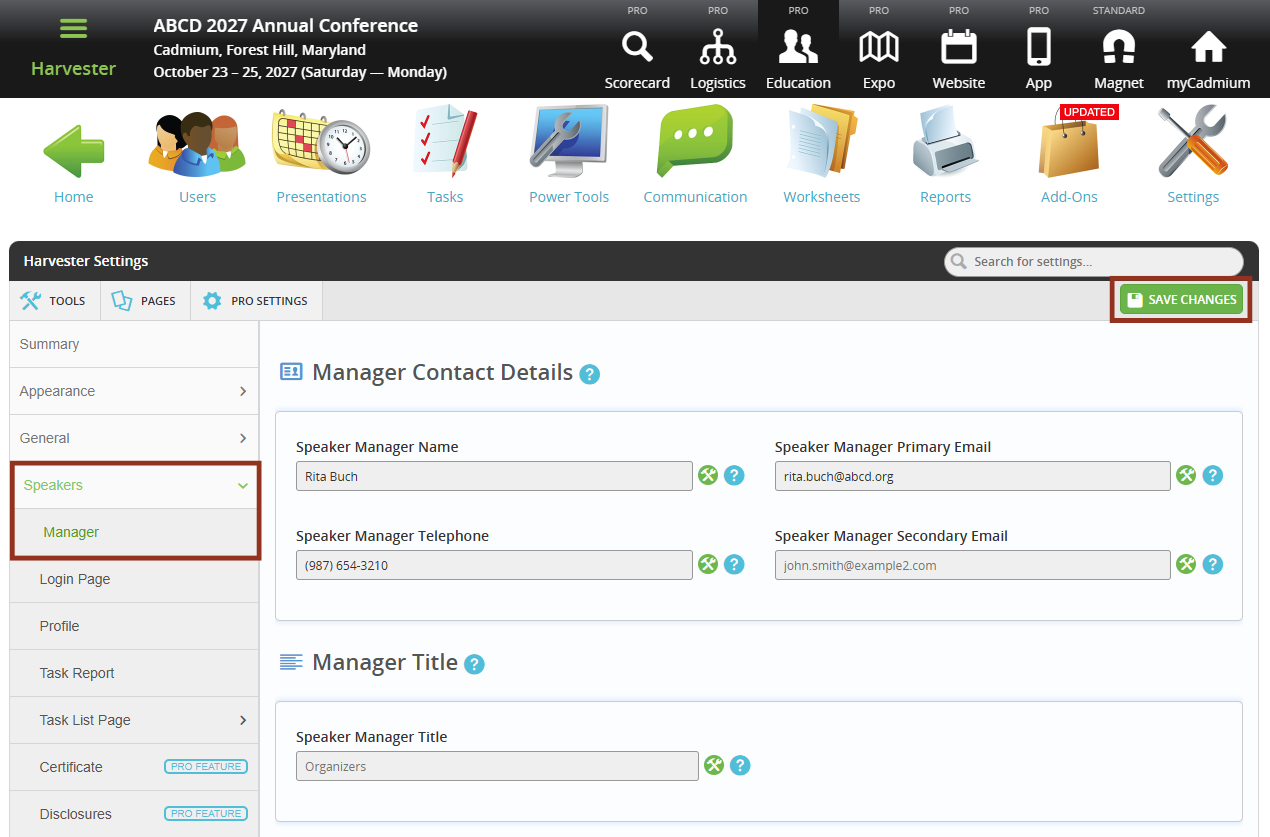
Speaker Manager Contact Info
To update the contact information for the Speaker Manager, follow the steps below:
- Expand the Speakers tab and select Manager,
- Enter a name, phone number, and email address.
- If personal contact information should not be displayed, use a general organizational name, phone number, and support email.
- The Speaker Manager Title (default: Organizers) can also be customized.
- Select the Save Changes button.
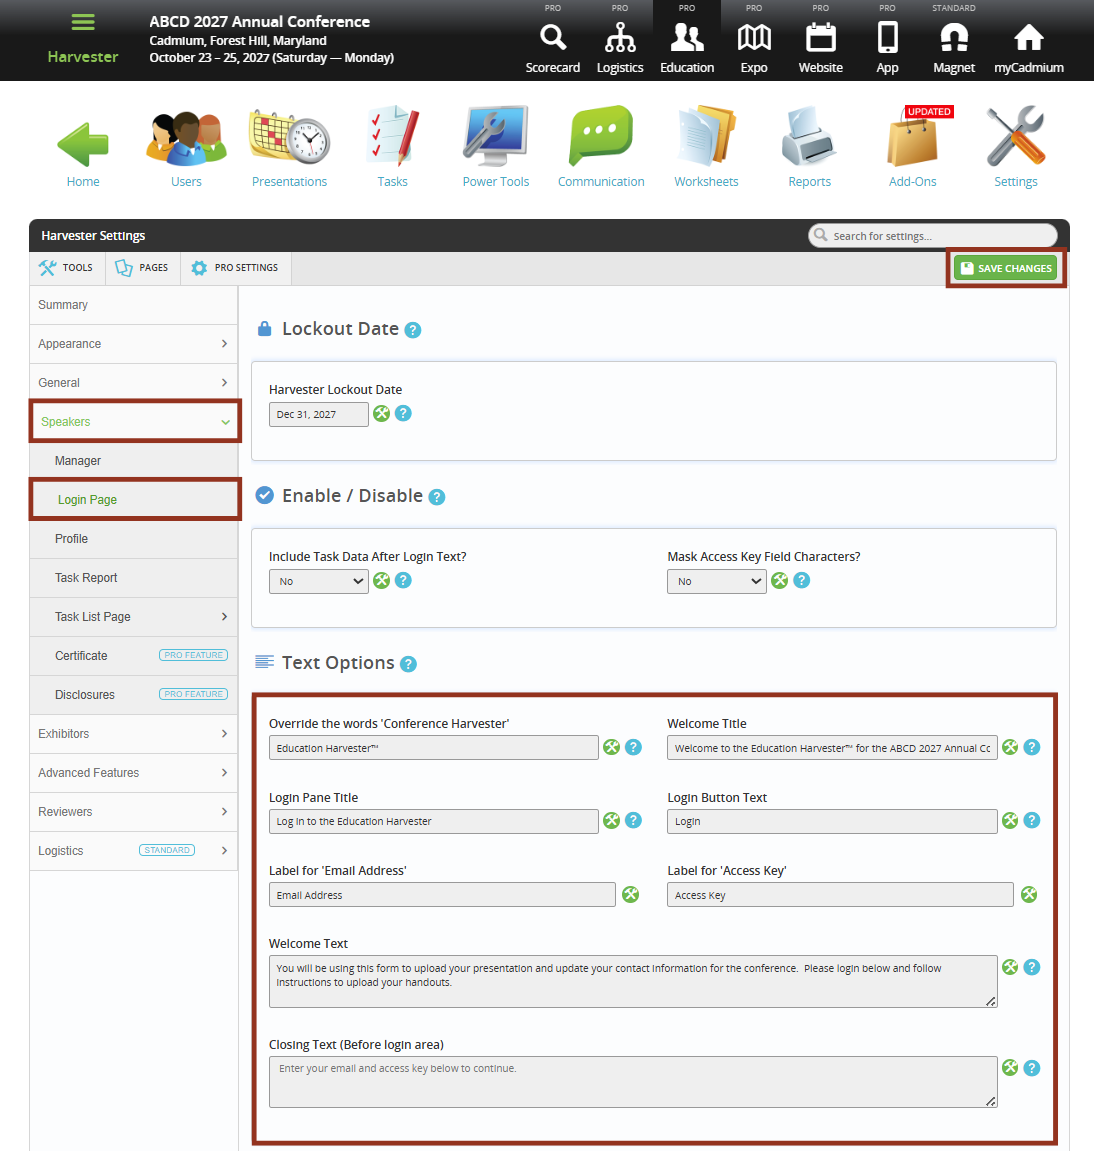
Login Page Text
To customize the speaker login page content, expand the Speakers tab and select Login Page and update the text as desired.
- Welcome Title and Welcome Text appear at the top of the page.
- Closing Text appears directly below, with a paragraph break in between.
After updating any fields in this section, select Save Changes button before moving to another section.
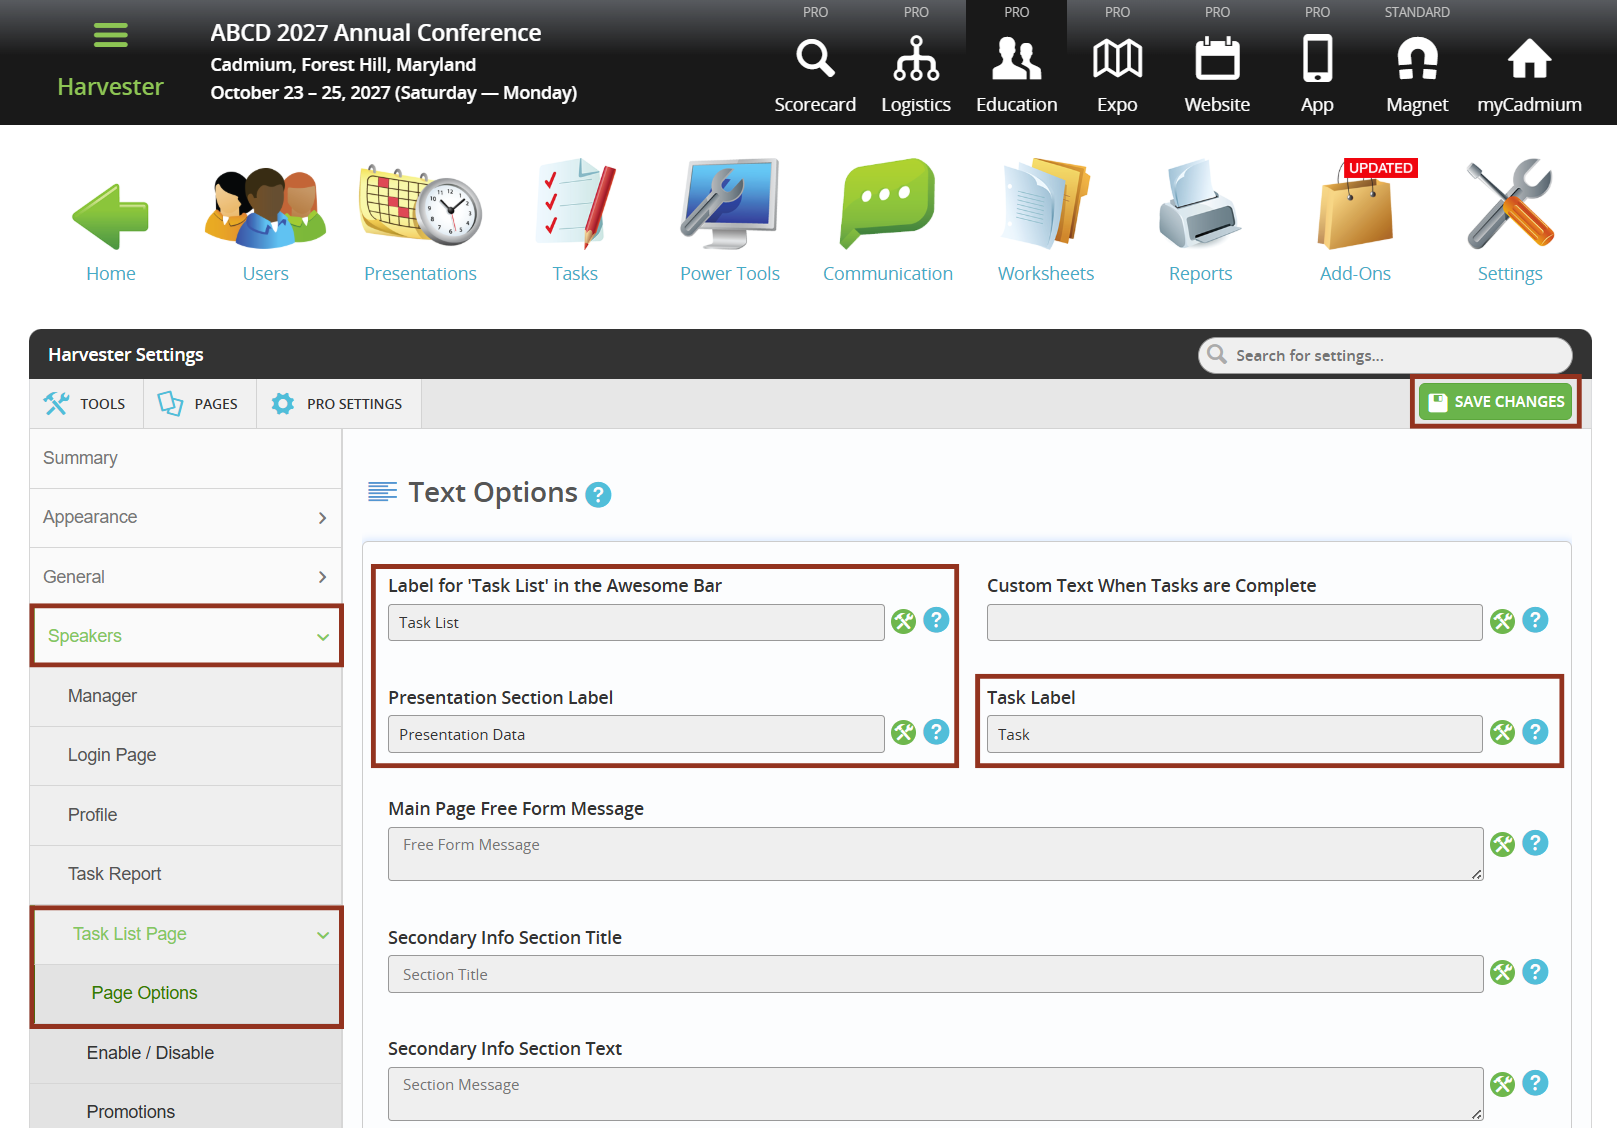
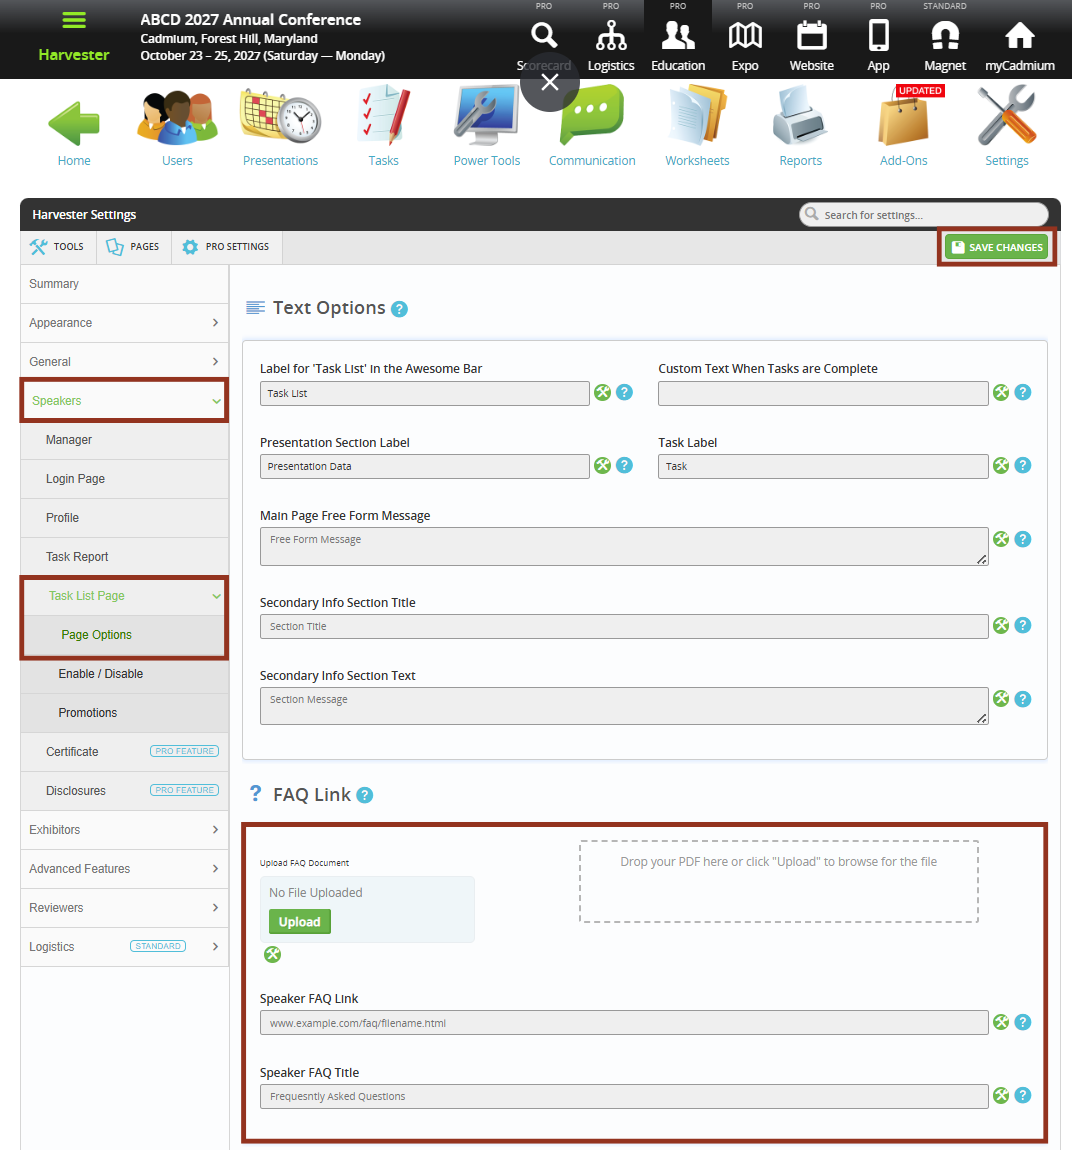
Task List Customization
To update the labels and sections of the Task List, follow the steps below:
- Expand the Speakers tab and then the Task List Page tab and select Page Options.
- Update the following text options:
- Task List Name
- Presentation Section Name
- Task Label
- For example, change “Tasks” to “To-Do Items” (The system will pluralize it automatically)
- Select the Save Changes button.
Add FAQ Link or Document
To include an FAQ section below the Task List, follow these steps:
- Expand the Speakers tab and then the Task List Page tab and select Page Options.
- Locate the FAQ Link setting below the Text Options.
- Upload a PDF using the Upload button, or enter a URL linking to an external FAQ page.
- Customize the label, if desired.
- Default label is Frequently Asked Questions
- Select the Save Changes button.
Contact your Project Manager with any questions or for assistance with advanced configuration.
Last modified Jun 20, 2025
Was this article helpful?
That’s Great!
Thank you for your feedback
Sorry! We couldn't be helpful
Thank you for your feedback
Feedback sent
We appreciate your effort and will try to fix the article