All of the confirmation emails sent to registrants are located on the "Messages" page under the Meeting Wizard header. You can easily identify emails on this page by looking for the messages with "(HTML)" in the name. This indicates that the message is an HTML email.
To edit an email, click on the name of the message. For example, you can edit the email sent to credit card and complimentary registrations by clicking on "Registration Confirmation Message (HTML)."
From the message pop-up, you can edit the name of the message, the sender's name, the sender's e-mail address, the subject, and the body of the message. (See Figure 1)
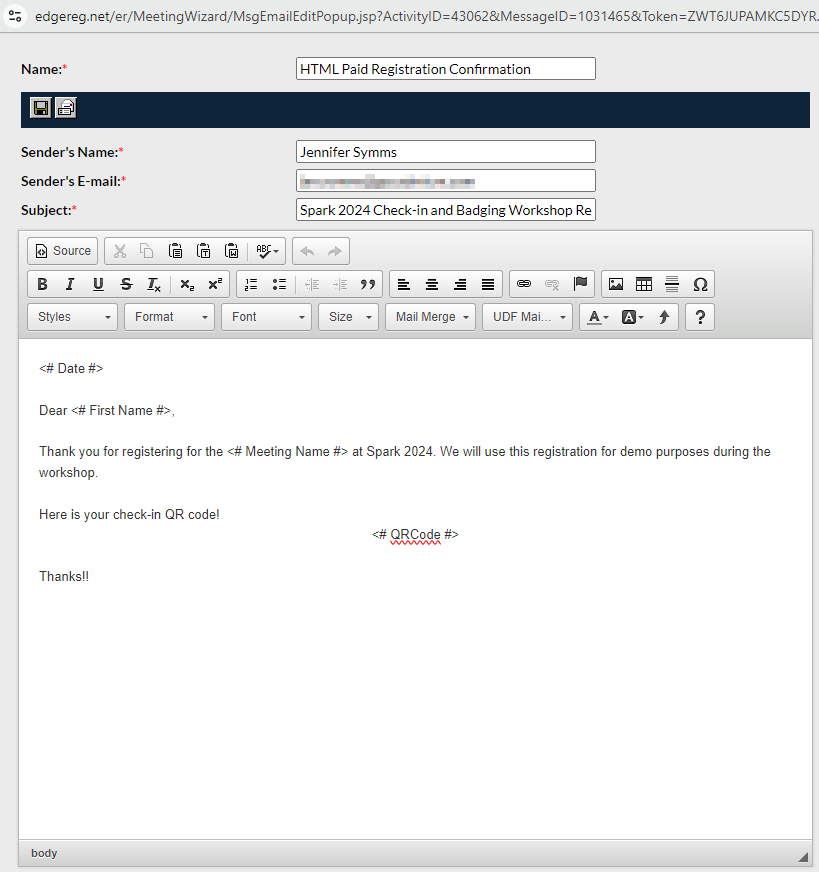
Figure 1 - HTML Editor
The "Name" of the message is for reference in the backend only. It will not show when the email is sent.
The first time the message is edited, the "Sender's Name" and "Sender's E-mail" fields will populate with the meeting contact's information.
NOTE
If the meeting contact is changed, the Sender's Name and Sender's E-mail will not automatically update. You will need to make this update manually.
Both the subject and the body of the message will contain standard text by default. This can be easily edited and customized for your event. The text editor works like many standard word processors. You can edit text and format it, use mail merge tags, add images, and more.
From the top toolbar, you can (see Figure 2):

Figure 2 - HTML Editor Menu bar
- View the source code
- Preview the message in a new tab in your browser
- Select a new template for your message
- Cut
- Copy
- Paste
- Paste as plain text
- Paste from Word
- Check spelling
- Undo
- Redo
From the middle toolbar, you can (see Figure 3):

Figure 3 - Tooltip Menu Bar
- Bold text
- Italicize text
- Underline text
- Strike through text
- Make text subscript
- Make text superscript
- Insert/Remove Numbered List
- Insert/Remove Bulleted List
- Decrease Indent
- Increase Indent
- Block quote
- Align left
- Center
- Align right
- Justify
- Link
- Unlink
- Insert anchor tag
- Insert an image
- Insert flash
- Add a table
- Insert a horizontal line
- Insert a special character
From the bottom toolbar, you can (see Figure 4):

Figure 4 - Bottom Toolbar.
- Change the text style
- Change the paragraph format
- Change the font
- Select a font size (in pixels, not points)
- Insert a mail merge tag
- Change the text color
- Change the background color
- Insert a link to a file
- View information about CKEditor
NOTE
The meeting contact is set under the Meeting Wizard header, on the Registration page, at the bottom of the Setup tab.
Was this article helpful?
That’s Great!
Thank you for your feedback
Sorry! We couldn't be helpful
Thank you for your feedback
Feedback sent
We appreciate your effort and will try to fix the article