To create a single function, navigate to the "Functions" page using the icon at the top of any page in Logistics. Then, select the "ADD FUNCTION(S)" button toward the upper left-hand corner of the page (Fig. 1).
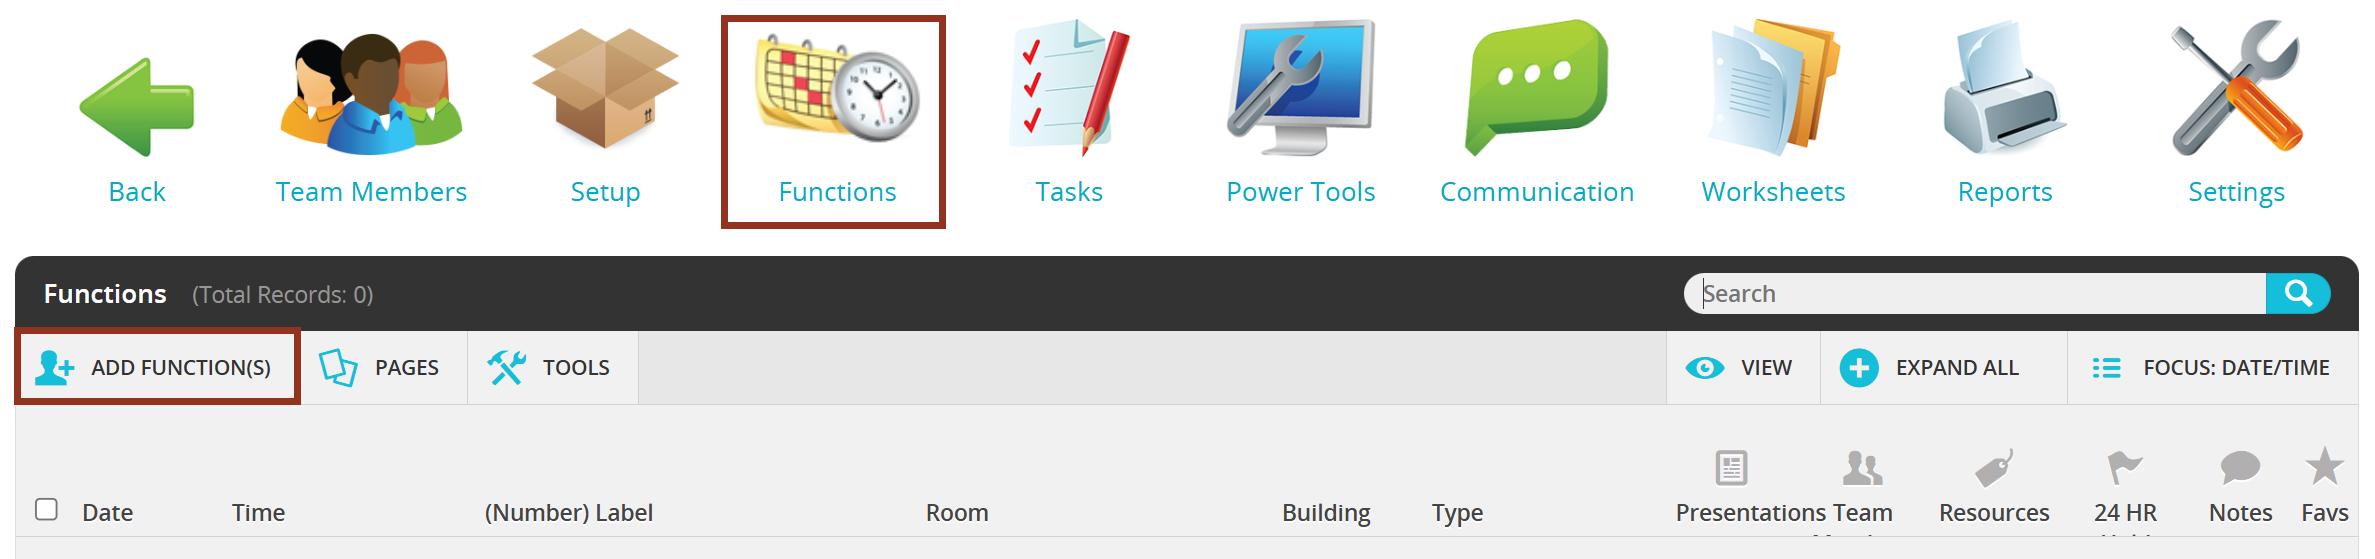
Fig. 1 - Functions Page.
On the pop-up window, select the "Create Single Function" button to continue to the function editor (Fig.2).
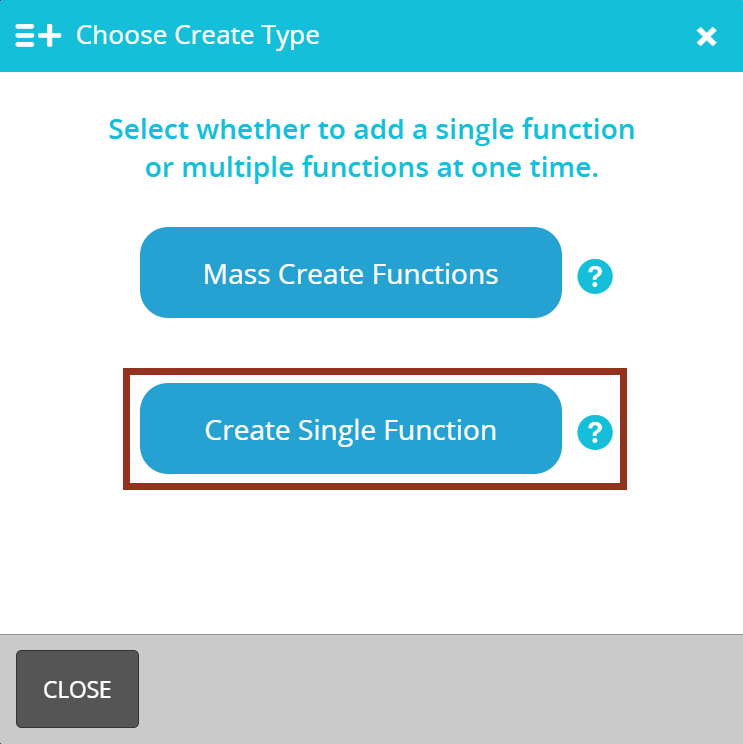
Fig. 2 - Create Single Function Button.
Within the "General Information" left-hand navigation panel, enter the "General Details" for the function (Fig. 3). Date, Start Time, and End Time are required fields. All other fields, such as the Function Label and Function Type, can be entered at a later date, especially if this data is unknown at the time of creation. Specifically, Function Types must be created on a separate page within Logistics. Please see Create a Single Function Type.

Fig. 3 - Function Editor.
POSITIVE NOTE
Utilize the blue question mark icons throughout the function editor to learn more about a particular field.
Within the "Room Information" section, choose the Room from the drop down menu. This is the only required field within this section. As a reminder, rooms must first be added within the "Setup" page before creating functions. Please see Add New Rooms.
If desired, select the Room Layout from the drop down menu. Similar to Rooms, Room Layouts must also be added within the "Setup" page before selecting a Room Layout within the Function editor. Please see Add Default Room Layouts.
Additionally, use the Expected Attendance and the Min and Max Capacity for the Function for planning and organizational tools. Please note that the Max Capacity will not be able to be greater than the capacity that has been set for the Room OR the capacity that has been set for the Room Layout, whichever is smaller.
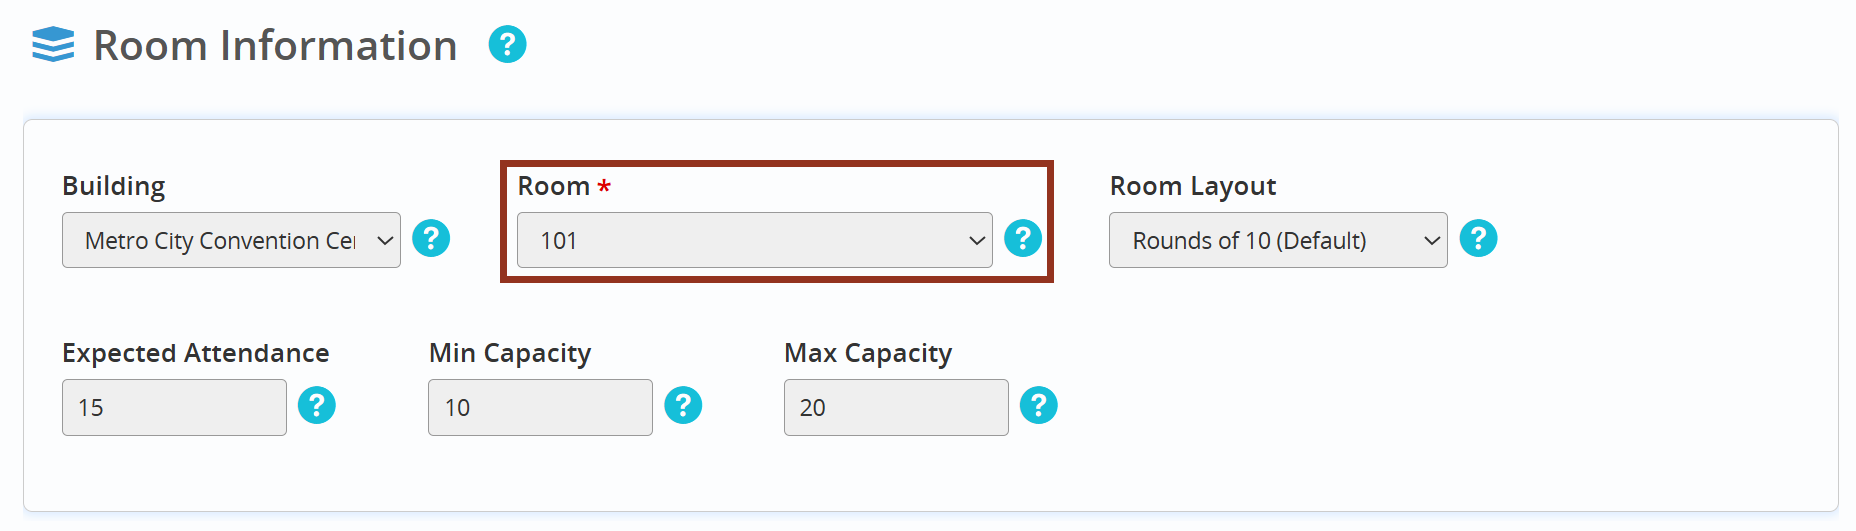
Fig. 4 - Room Information Section.
If and when this information is available, enter the Order/BEO number, decide if the Function is public or private, and enter any additional notes needed for the function.

Fig. 5 - Additional Information Section.
Then, select the "Save Changes" button toward the upper right-hand corner of the page. You will see a green confirmation banner appear. Then you may return to the Functions page.
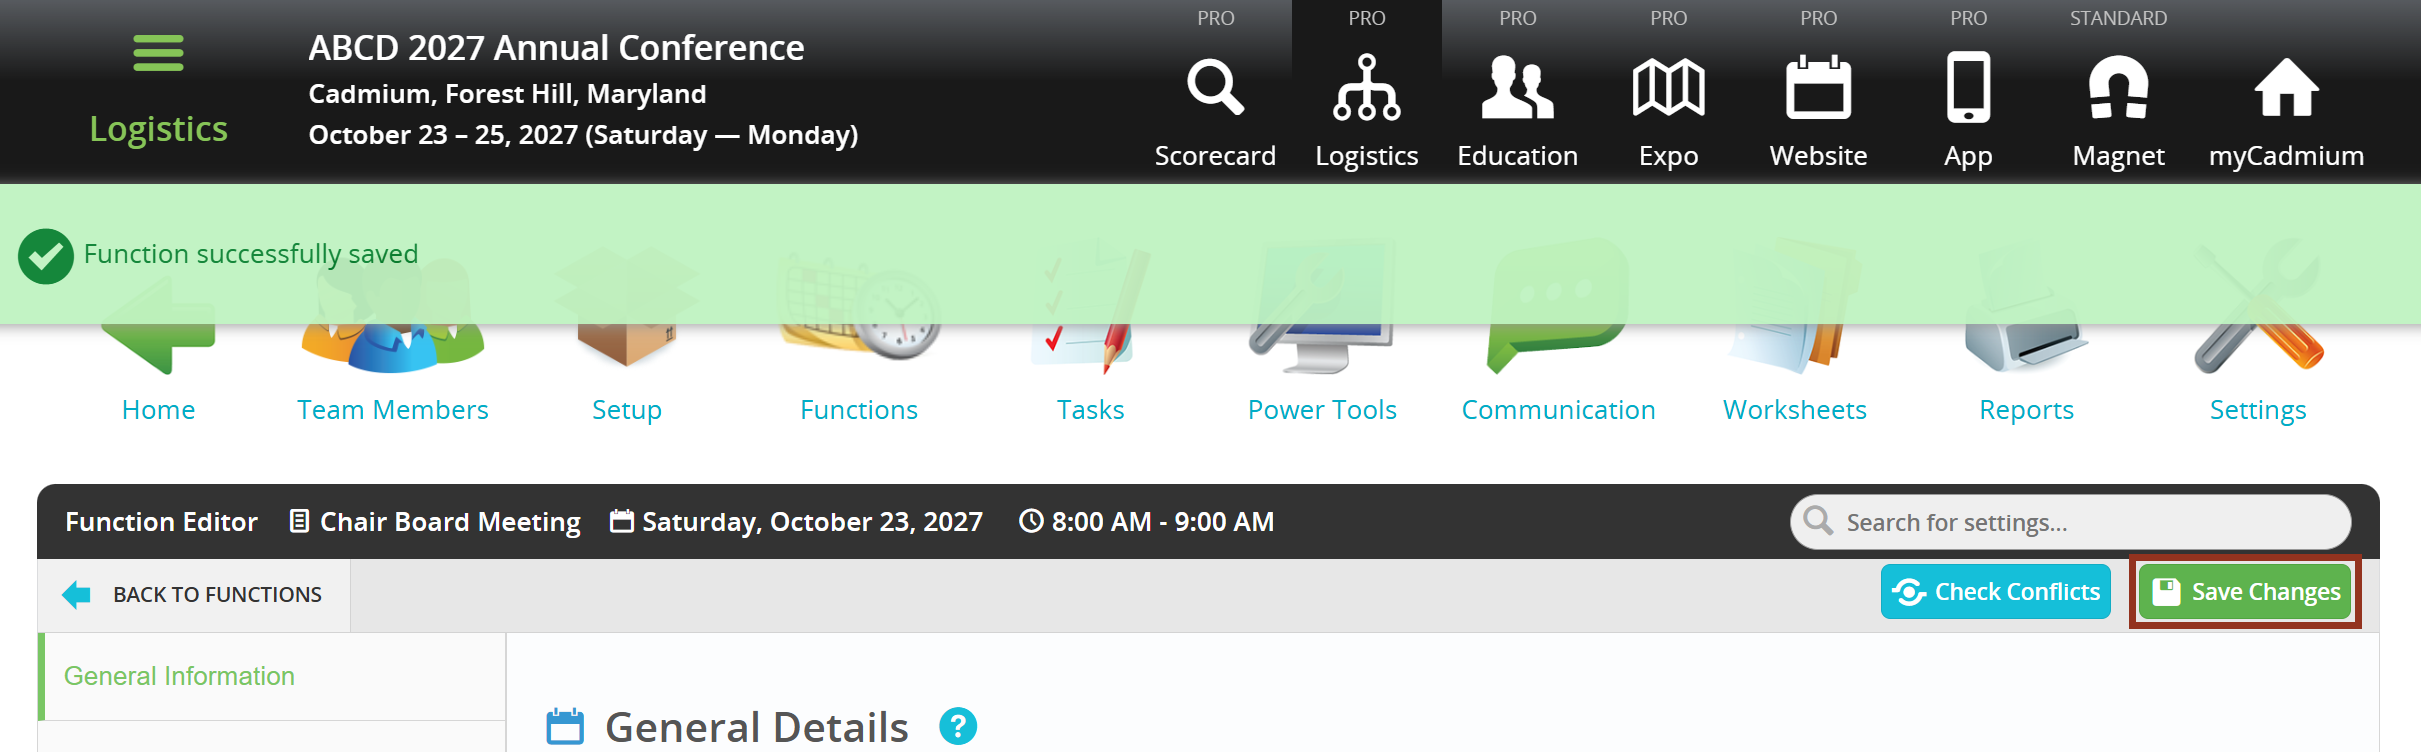
Fig. 6 - Save Changes Button.
Was this article helpful?
That’s Great!
Thank you for your feedback
Sorry! We couldn't be helpful
Thank you for your feedback
Feedback sent
We appreciate your effort and will try to fix the article