To schedule sessions, functions must be first created using the Drag & Drop Calendar Power Tool, or the Mass Create Functions tool.
NOTE
Functions must either have a Function Type that is identical to the Session Name or Session Type, or have a date, time and room that will match the Session and Presentations.
Navigate to the Presentation Scheduler Power Tool by selecting the "Power Tools" icon at the top center of the page. Within the Schedule Tools bucket, select the "Presentation Scheduler" icon (Fig. 1).

Fig. 1 - Presentation Scheduler Power Tool.
Step 1 - Select Presentations
On Step 1, you will see a list of Presentations/Sessions in the Education Harvester that have NOT been scheduled in Logistics. By default, Presentations will be bucketed by Presentation Type. Choose the appropriate focus that will help you select the Presentations that are a part of a Session. For example, Session Name.
Select the check box to left of the Presentation ID, or use the select all check box to select multiple Presentations at once. Then, select the "Continue to Step 2" button (Fig. 2).

Fig. 2 - Step 1 - Select Presentations.
Step 2 - Select Functions
On Step 2, you will see a list of all Functions that are currently within Logistics.
Choose a new focus from the drop-down menu to help you select the appropriate functions. Select Functions by selecting the check box next to the Function date, or use the select all check box to select multiple functions at once. Then, select the "Continue to Step 3" button (Fig. 3).
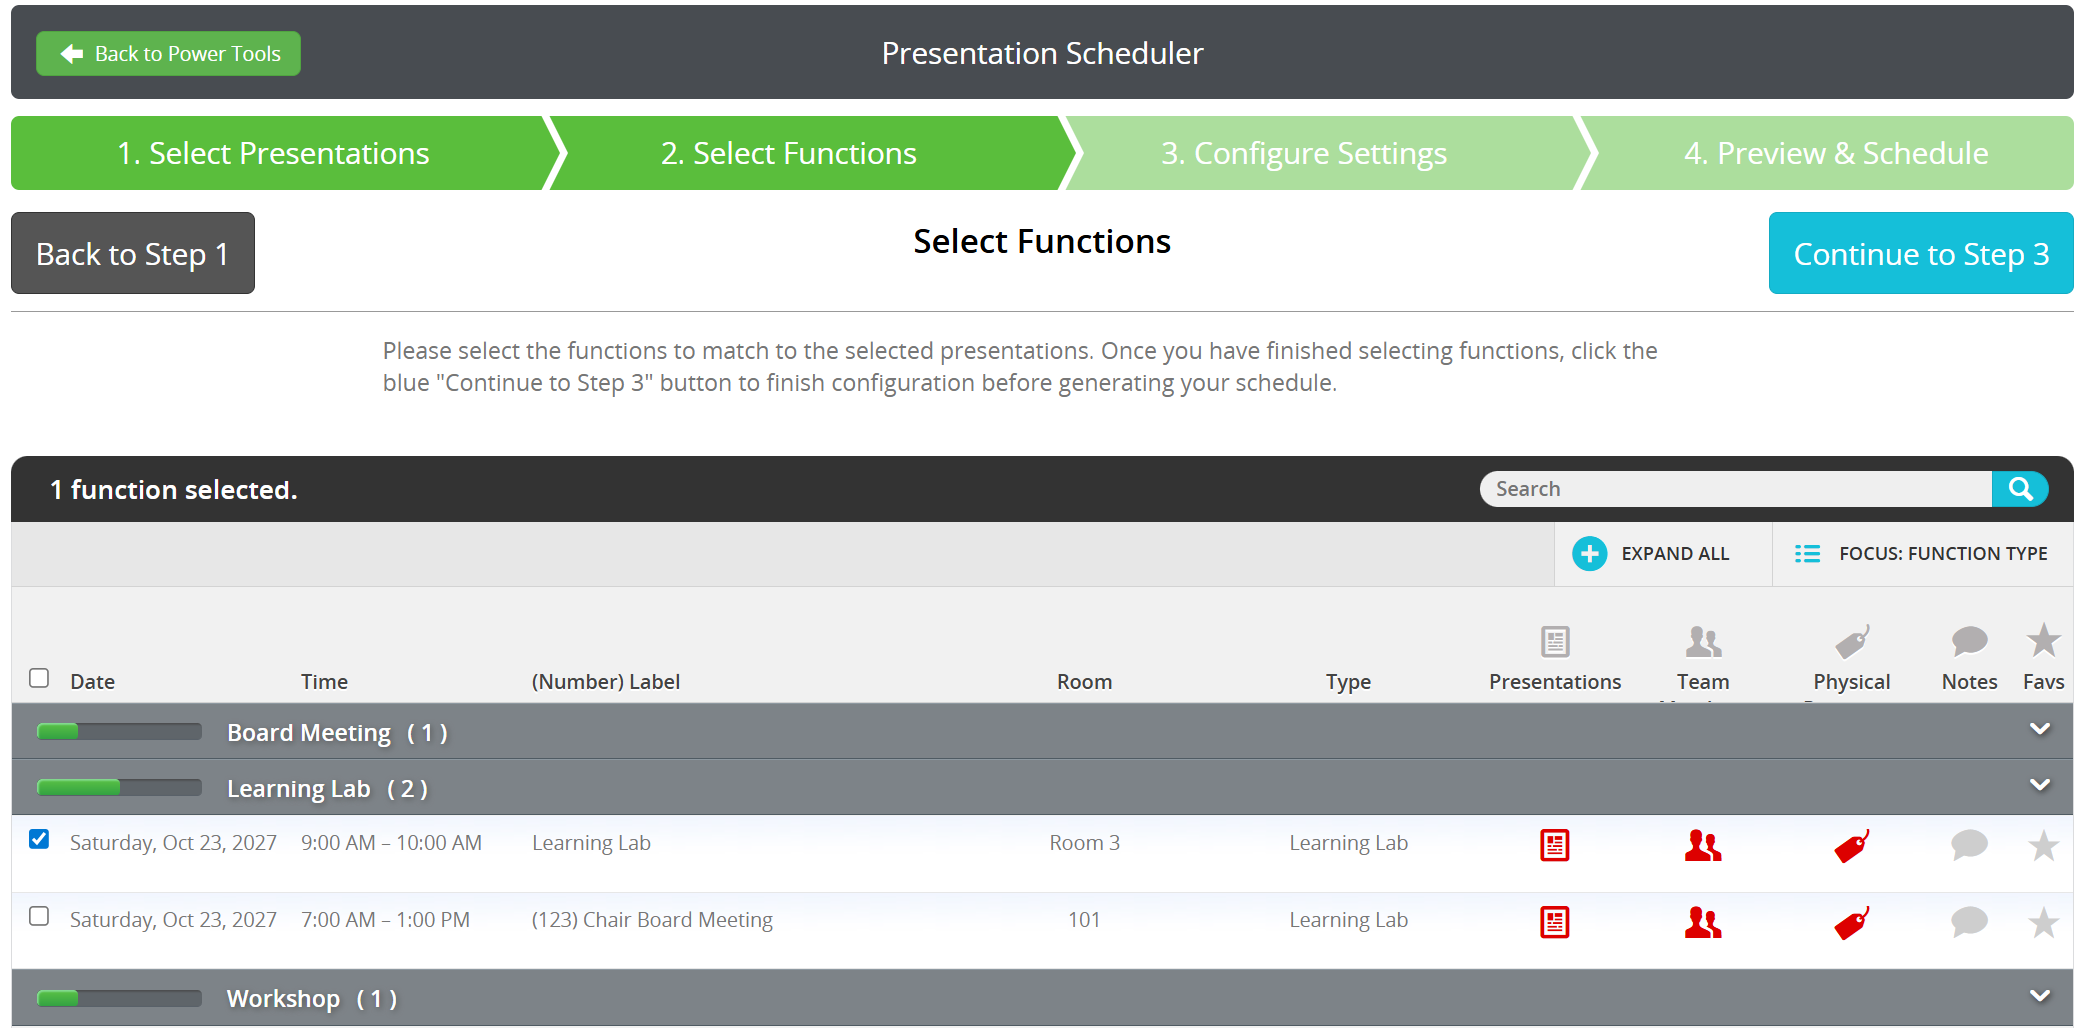
Fig. 3 - Step 2 - Select Functions.
Step 3 - Configure Settings
On Step 3, choose "Schedule 1 Session per Function, (a session may hold multiple Presentations)" from the drop down menu for question one. As a reminder, this means that a Function will be assigned a session, which may include multiple Presentations. Then, select the scheduling method.
1. Match Function Type
For question two, if your Presentations do NOT have rooms, dates, and times, select "Match Function Type." This means that the Presentation will be assigned the Function’s room, date, and times. Question three will then appear with a new drop down menu. Choose the Session field to match Function Type. Then, select the "Continue to Step 4" button (Fig 4).
NOTE
The Function Type and the Session field must be an EXACT match.
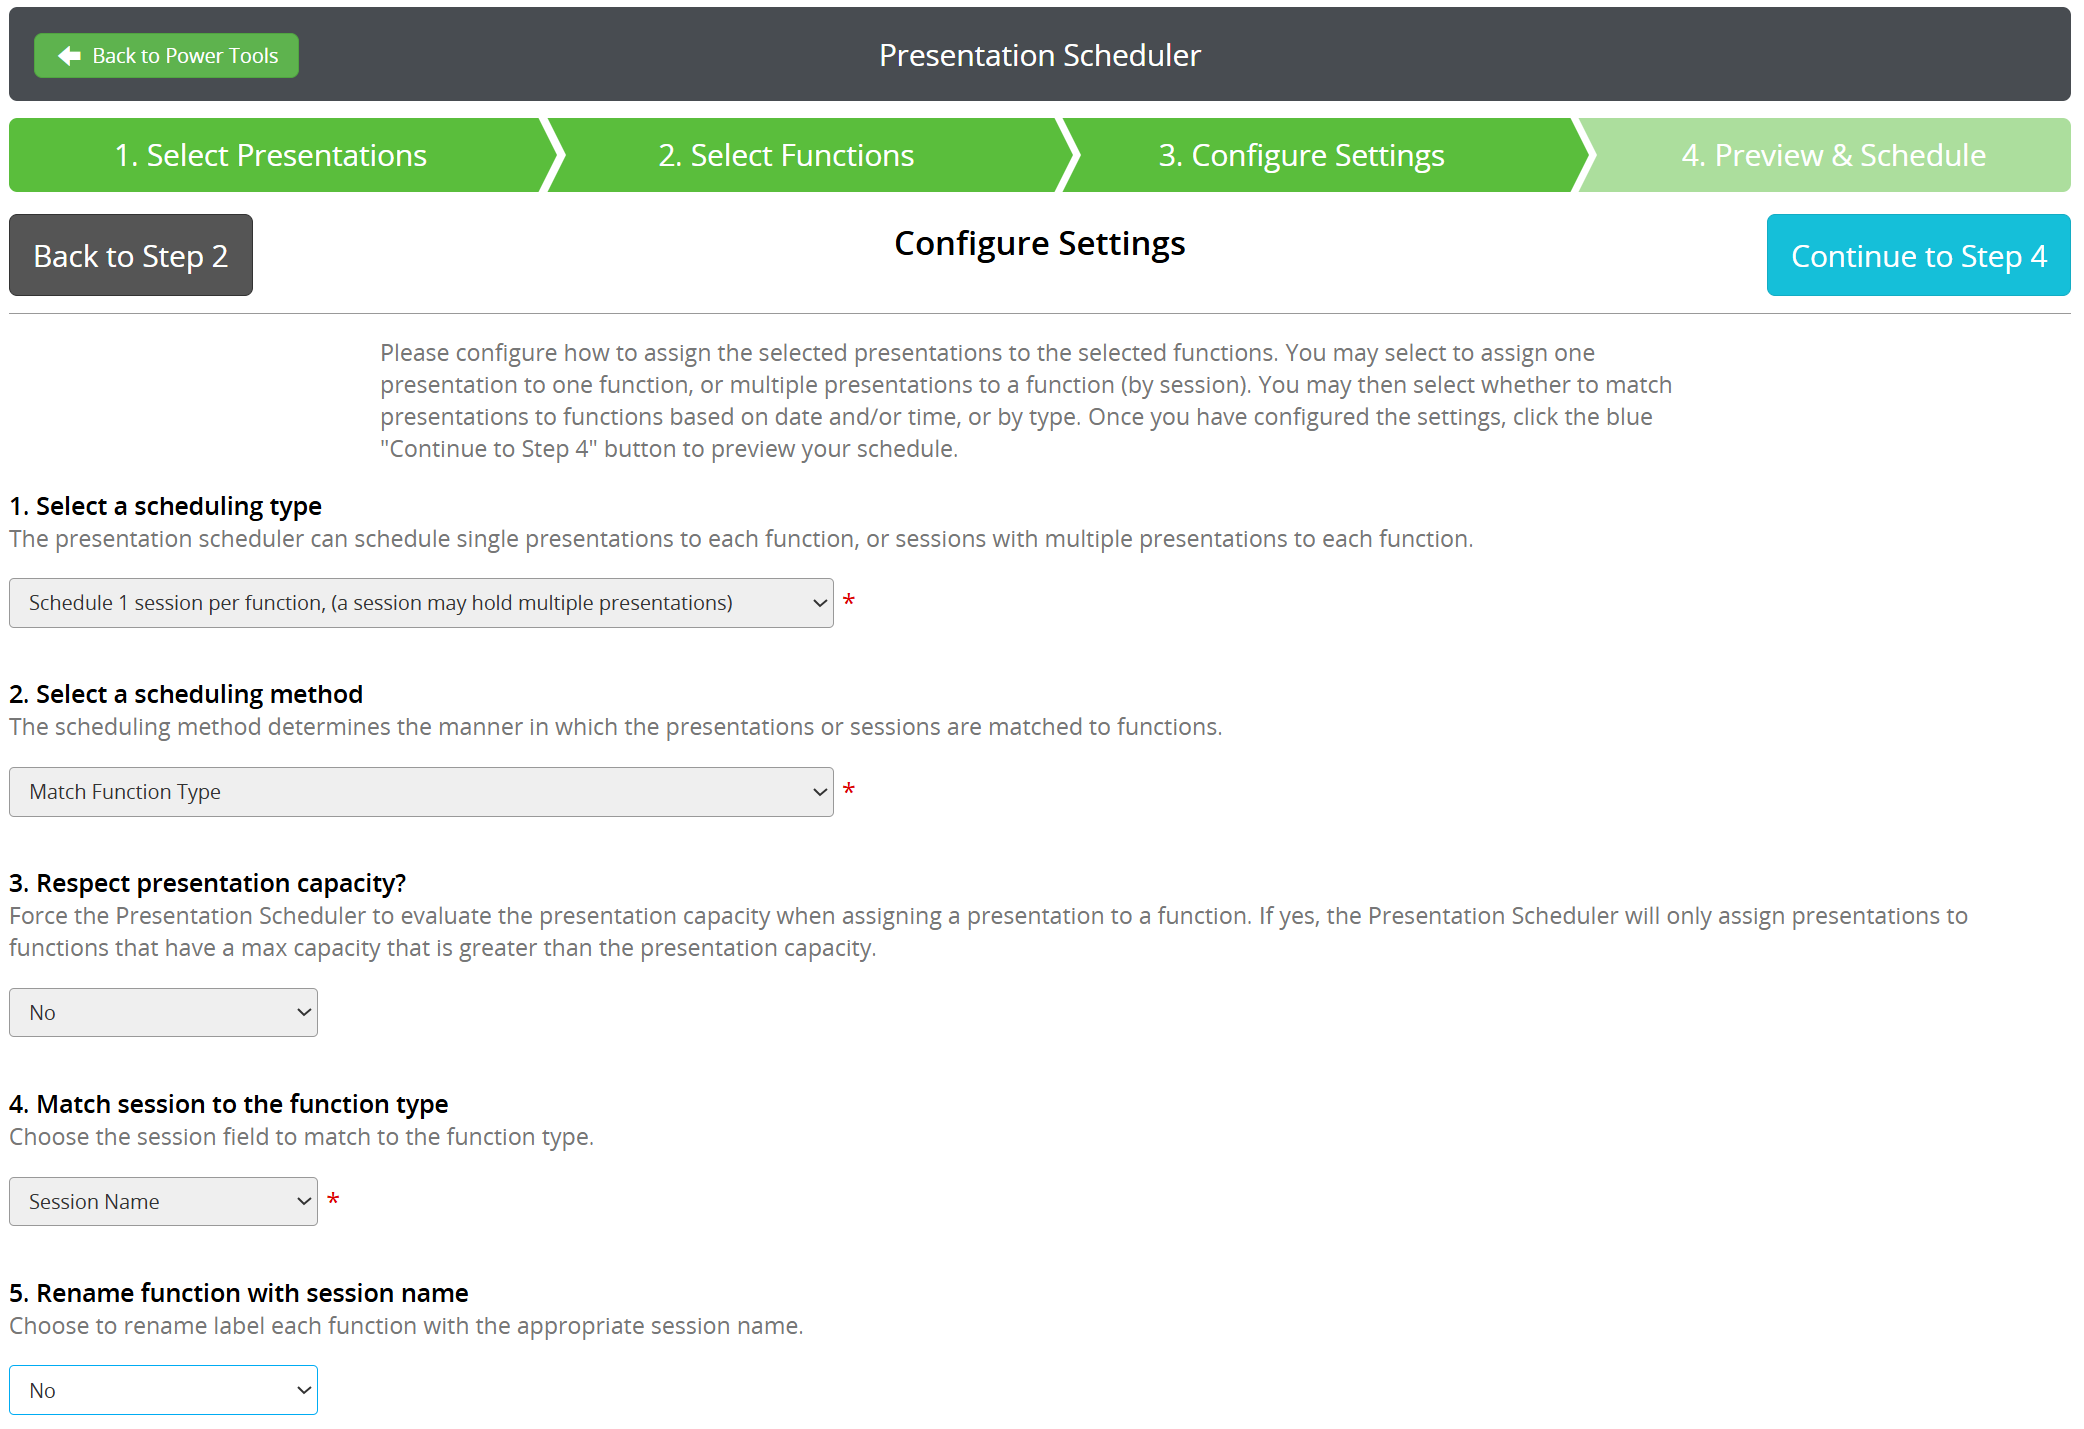
Fig. 4 - Step 3 - Configure Settings.
2. Match Function Date, Start Time, End Time and/or Room
For question two, there are two different scenarios.
- If your Sessions have dates and times, select "Match Function date, start time, and end time." This means that the Presentation Scheduler will schedule the first Session that have matching dates and times to a previously existing Function. The Session (all Presentations) will receive the room that has been assigned to the Function.
- If your Sessions have dates, times, AND rooms, select "Match Function date, start time, end time, and room." This means that a Session (all Presentations) will only be assigned to a Function with the exact same scheduling data.
Then, select the "Continue to Step 4" button (Fig. 5).

Fig. 5 - Step 3 - Configure Settings.
Step 4 - Review & Schedule
On Step 4, you will see a summary of the Sessions (and Presentations) that will be assigned to Functions. As a reminder, the Presentations Scheduler checks for room, date, time, and speaker conflicts. After you confirm the schedule, select the "Save & Schedule" button (Fig. 6).
NOTE
If conflicts were detected, a red box will appear indicating the number of Presentations and Functions that were not matched, shown in the second screenshot below.

Fig. 6 - Step 4 - Review & Schedule.
The next page will display a success message indicating the number of Presentations that have been assigned to each Function. At this point, you can choose to schedule more Sessions/Presentations, email the report, or view the Functions (Fig. 7).

Fig. 7 - Confirmation.
Was this article helpful?
That’s Great!
Thank you for your feedback
Sorry! We couldn't be helpful
Thank you for your feedback
Feedback sent
We appreciate your effort and will try to fix the article