General sessions are session that all participants will be attending, like a keynote presentation or a closing presentation. To add a General Session, click the "Add General Session" button.
The Sessions Tab is where you will add your general sessions and workshop sessions to your schedule. You can also insert separators, comments, or UDFs to your schedule as well.
General Sessions

You'll see a pop up where you will be able to enter the information about this general session (Fig. 1).
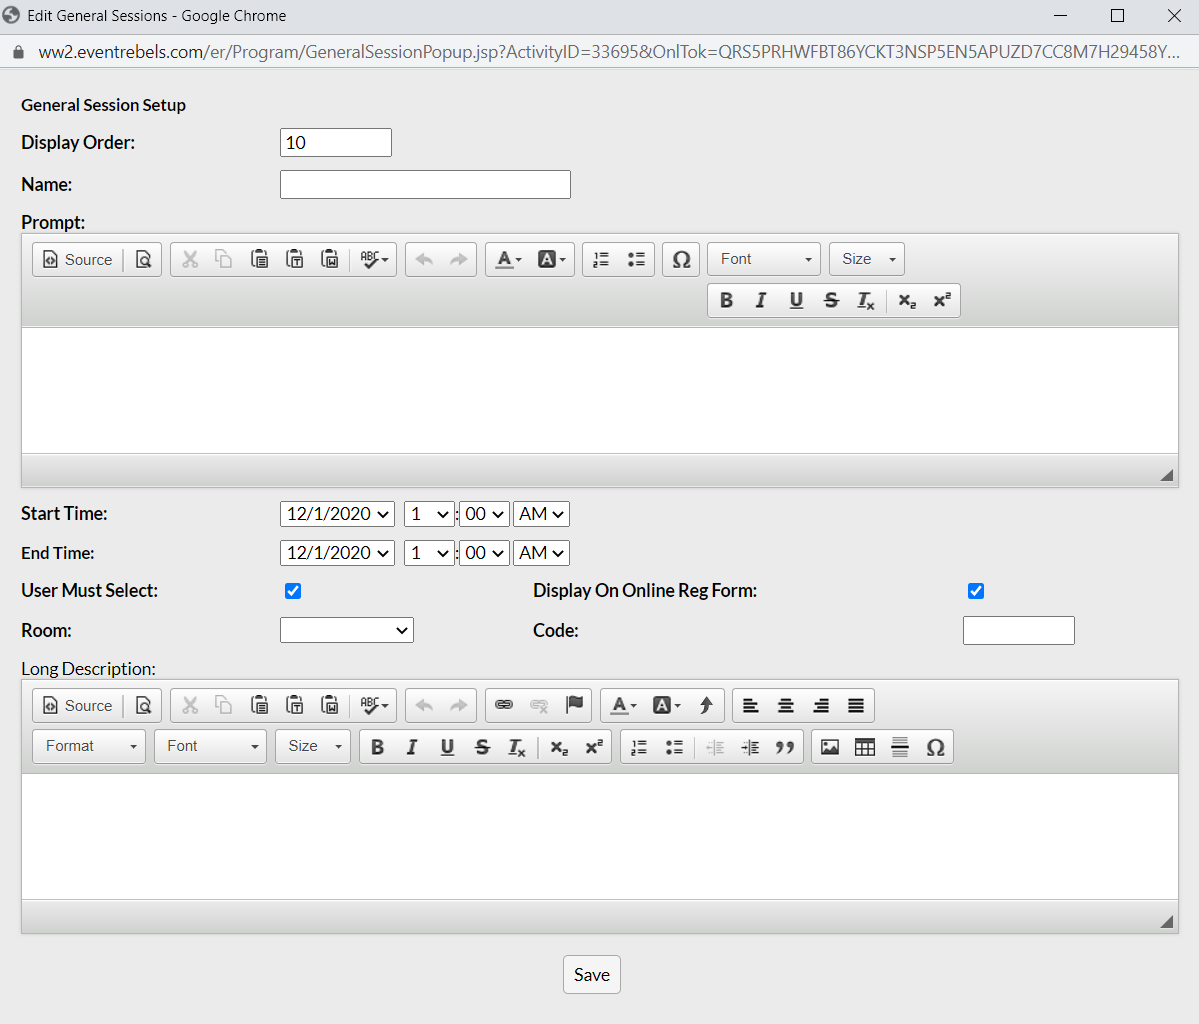
Fig. 1 -General Session pop-up to capture Information
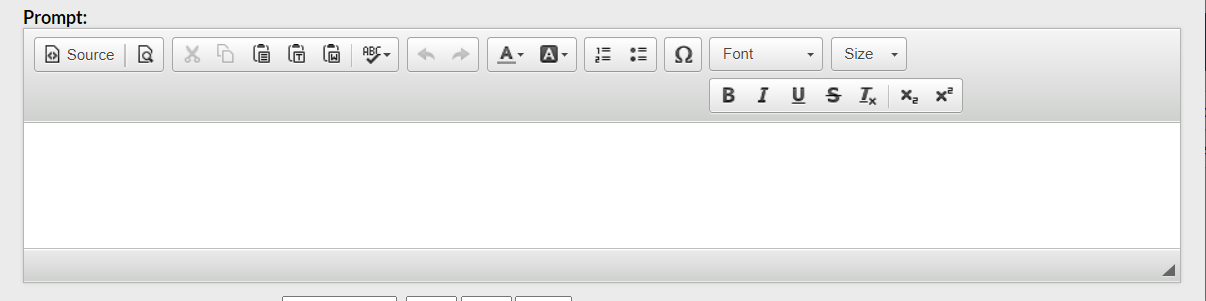
- The name is internal and the prompt is external (what your users will see on the schedule). Many times people give the General Session the same name and prompt. They can also be different if you prefer (if, for example, you want to keep it short for your reports). If you have enabled Rich Text (link) you will see some formatting options (bold, italicize, bullet point, etc.) that you can include in the prompt.
- You will set the date of the session and the start time and end time.

- Then you will specify if this is something that the user needs to select or opt into by checking or unchecking the User Must Select box. If you do not want the General Session to display on the schedule uncheck the Display on Online Reg Form box.

- You can select a room from the room dropdown list (that you set up on the General Settings) tab.

- Finally, enter the Long Description of your session. If you enabled the Rich Text (link) formatting you will see an expanded amount of formatting options where you can format, hyperlink, insert an image, insert a table, etc.
- Be sure to click the Save button to add your General Session to the schedule.

Workshop Sessions
- Workshops session are your concurrent sessions that happen at the same time and attendees can select which session they will attend. Click "Add Workshop Session."

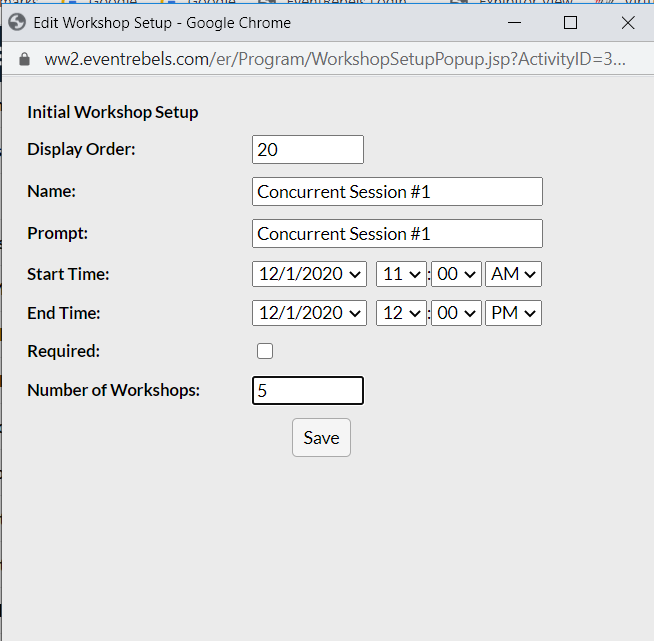
- From the Workshop pop-up you can enter the structure for your Workshop Session.
- Enter the Name and the Prompt. As in our General Sessions these can be the same or different. Attendees will see the Prompt.
- Enter the Start Time and the End Time for this Workshop Session.
- If attendees must choose 1 of the sessions in this time slot, check the Required box.
- Finally, enter the number of workshops or concurrent sessions that are happening at that time and click Save. You will enter the information about the individual workshops on the Workshops tab.
Separators, Comments and UDFs
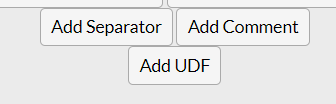
There are 3 additional buttons on the Sessions tab - Add Separator, Add Comment and Add UDF.
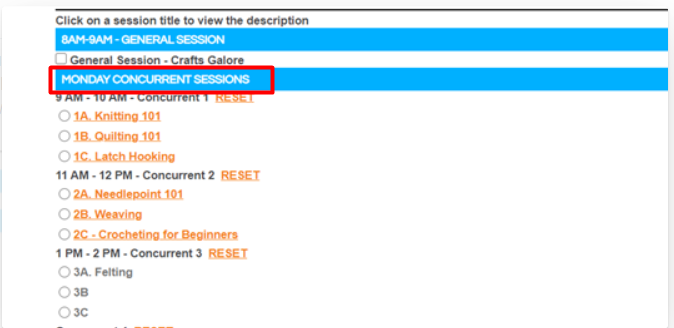
Separators are what are seen here in the red box.
Separators are a way to break up and organize the programs and workshops schedule. To add a separator click the "Add Separator" button.
Give the Separator a name and a prompt and be sure you are inserting it on the correct date. You might want to update the display order. To display this separator at the top of the page update the Display Order to "1" and hit Save.
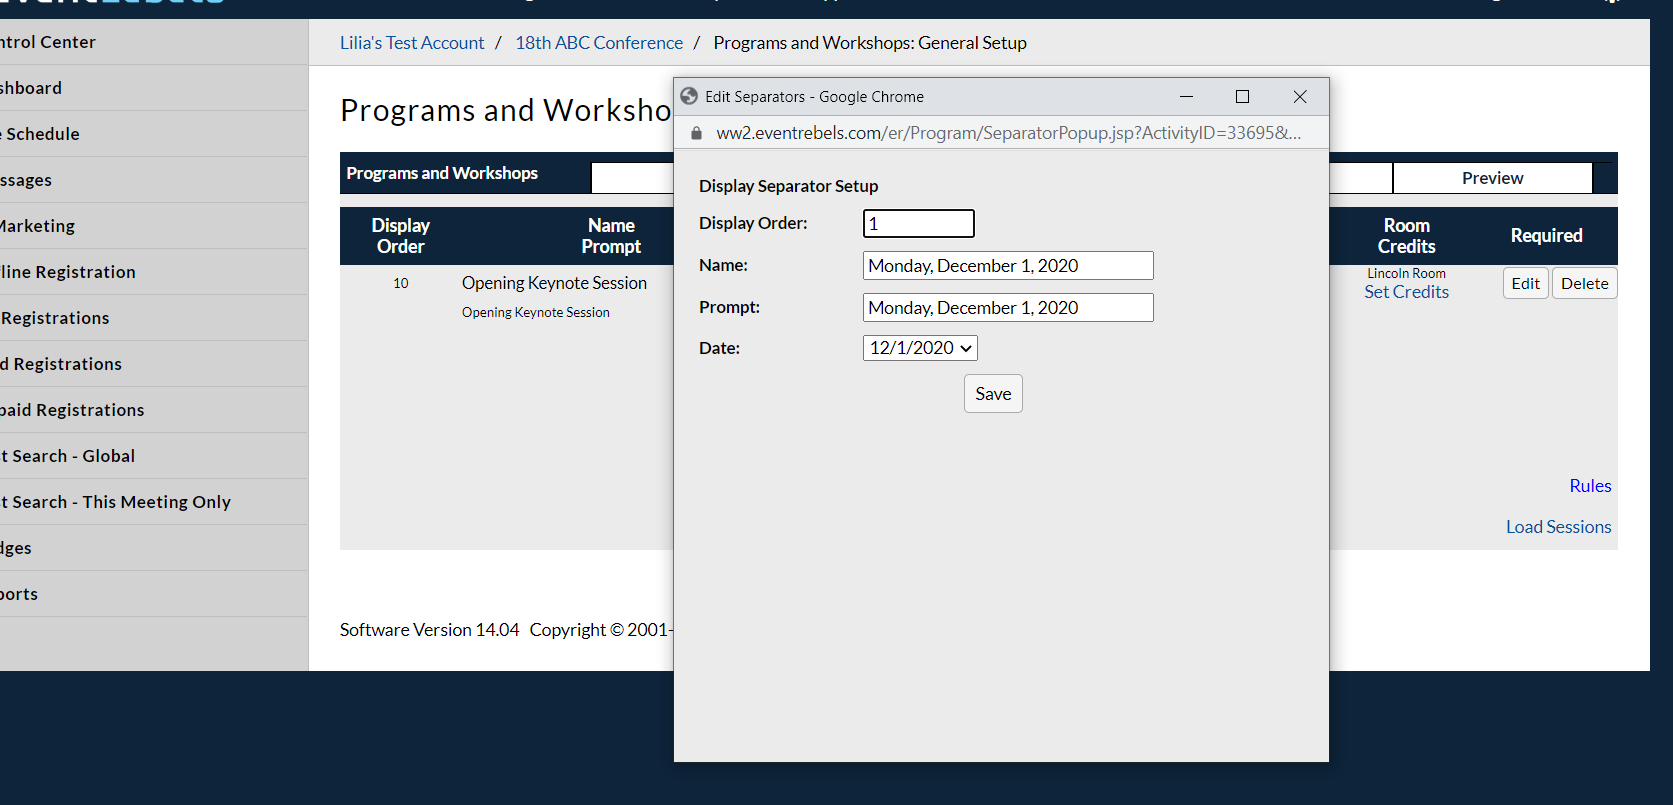
Fig. 9 - Assigning a name and prompt to the Separator
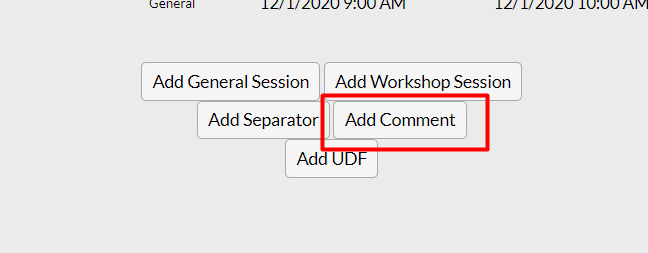
An example of a comment is the text highlighted below in red. It is an instruction or some other information that you wish to convey in the schedule.

To add a comment, click "Add Comment."
Give the comment a name and a prompt and be sure to position it where you would like it on the form using the display order and click Save to add it to the form.

By default, Programs and Workshops pull into the form together, in a block. But, you can insert a UDF (User Defined Field) question using the Add UDF button.

Use the display order to position the question where you would like it in the form. Select the question you wish to insert and the date that you would like to insert it and hit Save.

Last modified Sep 23, 2024
Was this article helpful?
That’s Great!
Thank you for your feedback
Sorry! We couldn't be helpful
Thank you for your feedback
Feedback sent
We appreciate your effort and will try to fix the article