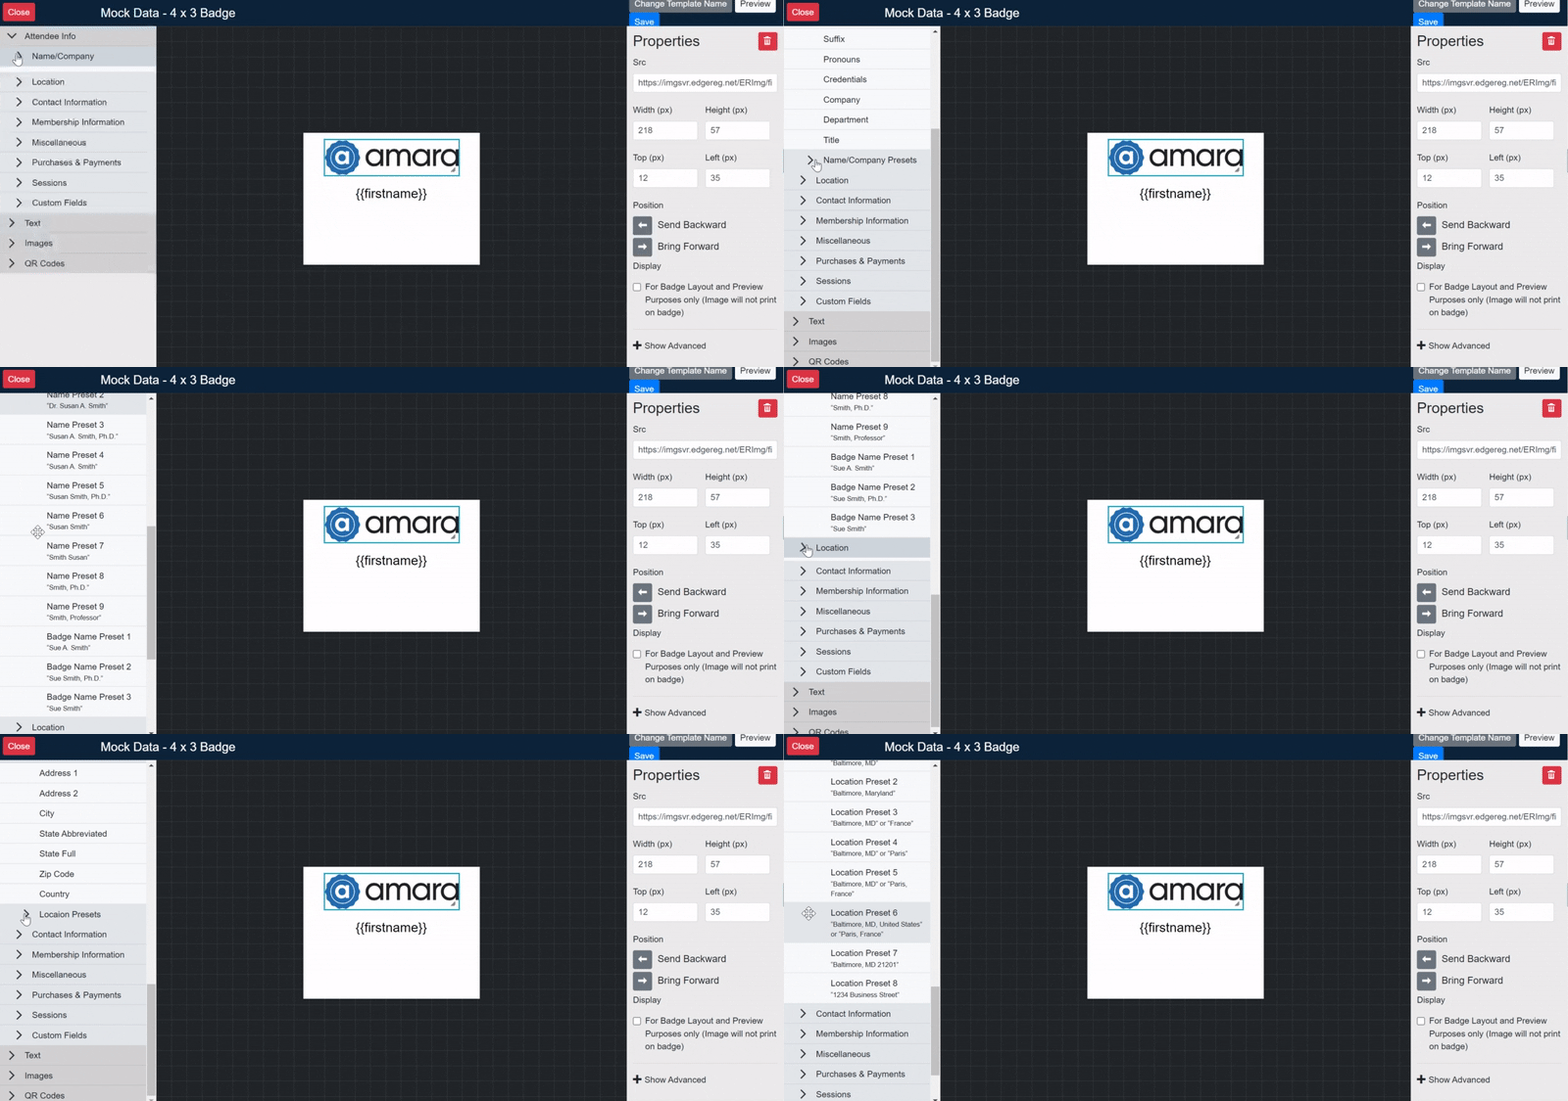
Attendee Info
The Attendee Info section includes many sections and fields of data for selection that are self explanatory, such as first or last name, but others are more complex. Within the Name/Company section is a subsection for Name/Company Presets that allow you to choose a single merge tag that has two or more fields of data combined, such as "First Last, Suffix". Similarly, the Location section includes presets such as "City, State or (if non-US) City, Country". Other unique fields to note are "Registrant ID" and "Attendee Photo" in the Miscellaneous section.

The Purchases & Payments section allows you to include specific information about the Registration Fees and Option Fees that were purchased. One item particularly useful is the Registration Badge Display and Option Badge Display Fields. These are useful when you want to include distinct information about the type of attendee or what they purchased, but do not want to use the Registration or Option Fee Names themselves. As an example, shown below, you may want to display on the badge what type of attendance is included with the badge, such as Full Conference or Exhibit Hall Only, without displaying full detail into the type of registration that was purchased.
| Registration Fee Name | Badge Display |
| Full Conference - Member | Full Conference |
| Full Conference - Non-Member | Full Conference |
| Full Conference - Comp | Full Conference |
| Exhibit Hall Only | Exhibit Hall Only |
Learn how to set the badge display fields.
The Sessions section allows you to insert information based on the schedule information that was included within registration. This is most commonly used to display specific selections made during registration, however, this has become a less popular option over the real time scanning abilities of QR codes and session check-in functionality. Using scanning also removes the need to reprint badges when session selections are made.
The Custom Fields area allows you to insert the responses made to User Defined Fields or UDFs
Text
The Text section allows you to insert pieces of text as needed by adding information into the "Value" field within the Properties of that
Images
The Badge Editor allows images (JPG, PNG, BMP) to be inserted onto badges, including event logos or banners, the attendee photo, if that was collected during registration, and even icons to indicate access to specific items at your event. If these images need to be in color, you would need to have a color printer (preferably a laser printer) in order to print the badges.
NOTE
Zebra printers cannot print color images.
If you plan to only print generic graphics such as the event logo or banner, or if you only have black and white printers, you may choose to preprint the color graphics on blank stock and then only print items your attendee specific information. If you are choosing this method, you can still place graphics into the badge with the editor to help with alignment purposes for the rest of your badge data or for your badge preview using the "For Badge Layout and Preview Purposes only" setting.
NOTE
Hold down shift while adjusting the image size to maintain aspect ratio.
QR Codes
The QR Codes section gives you the ability to insert QR codes onto the badge for scanning purposes. Cadmium currently supports lead retrieval and session check-in using our eventScribe QR Code. Other QR codes are available for encoding registration data directly into the QR code. The two supported methods are "ATS" which separates data using ^ and "Spot Me", which inserts the letters SB at the beginning and separates data via commas.
Was this article helpful?
That’s Great!
Thank you for your feedback
Sorry! We couldn't be helpful
Thank you for your feedback
Feedback sent
We appreciate your effort and will try to fix the article