To assign a merchant account to a meeting, click on Meeting Merchant Settings under the Meeting Wizard header in your meeting's Control Center.
IMPORTANT NOTE
This article references the classic method for managing your event’s firm merchant settings. Registration will be transitioning to use Cadmium Payments, Cadmium’s centralized credit card processing, beginning on January 5th, 2026. Events created after Jan 5th, 2026 will default to use Cadmium Payments. Learn more about Cadmium Payments here.

By default, new meetings that were built from scratch will be assigned to the "Disabled" merchant and new meetings that were cloned will be assigned to the same merchant as the cloned meeting.
Click on the Assigned Merchant field to select a new merchant from the dropdown, then click Save Changes. (Fig. 1)
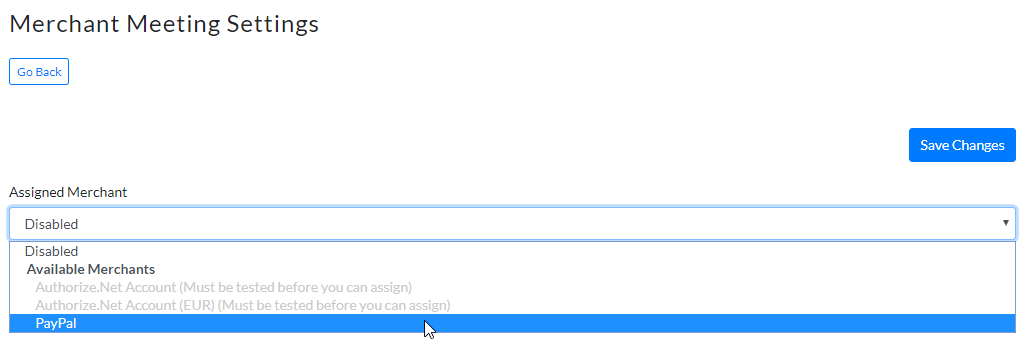
Fig. 1 - Assigning Merchant Meeting Settings
NOTE
- Archived merchants will not show in the Assigned Merchant dropdown
- If you have set up a new merchant account but have not tested it, you will not be able to assign that merchant, yet. You must complete a successful test transaction to complete the merchant setup.
- If you will not be using credit card processing for your meeting, you can leave the Assigned Merchant set to Disabled.
Last modified Dec 11, 2025
Was this article helpful?
That’s Great!
Thank you for your feedback
Sorry! We couldn't be helpful
Thank you for your feedback
Feedback sent
We appreciate your effort and will try to fix the article