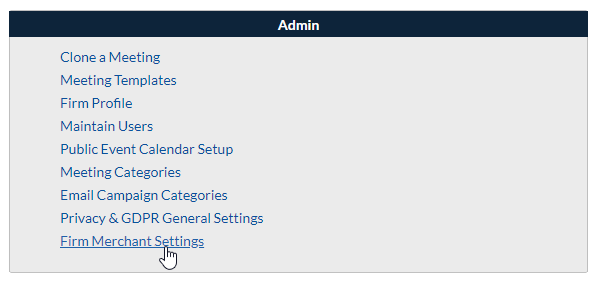
Go to the home page of your account and click on Firm Merchant Settings under the Admin header at the bottom of the page.
IMPORTANT NOTE
This article references the classic method for managing your event’s firm merchant settings. Registration will be transitioning to use Cadmium Payments, Cadmium’s centralized credit card processing, beginning on January 5th, 2026. Events created after Jan 5th, 2026 will default to use Cadmium Payments. Learn more about Cadmium Payments here.
Step 1: Select a Processor
Step 2: Enter API Details
Step 3: Complete a Test Transaction
Step 1: Select a Processor
Click on the Add New Merchant button at the top of the page.

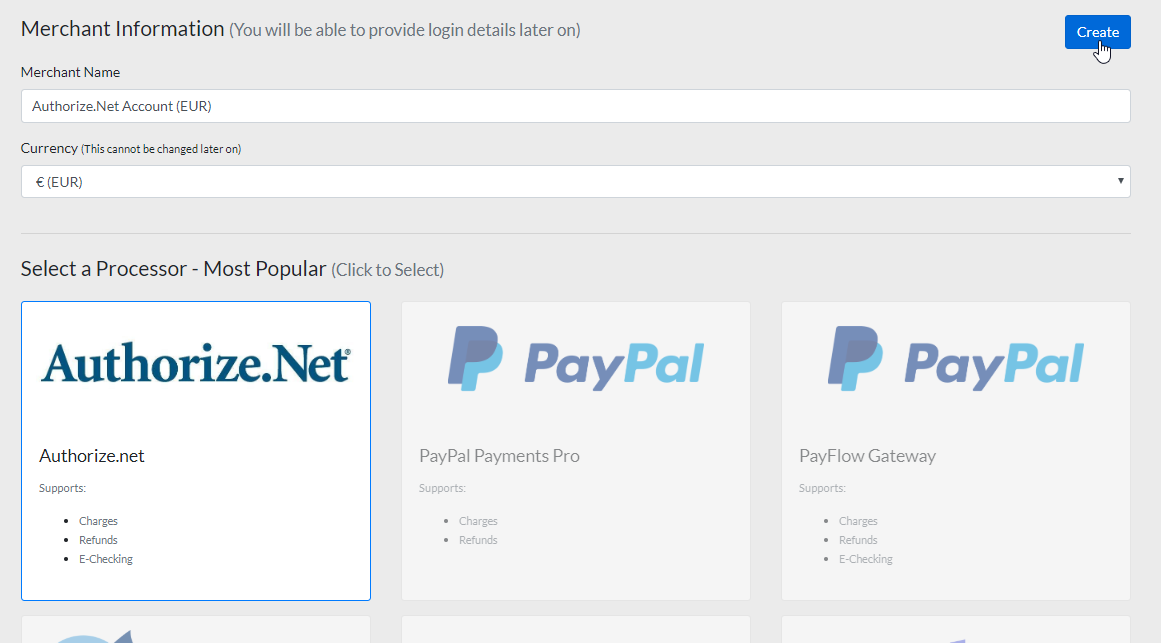
Provide the following information, then click Create:
- Merchant Name - Enter a name for your reference, so that you can identify which account this is when it’s time to assign it to a meeting.
- Currency - Select the currency that will be used to process transactions.*
- Processor - Choose your processor. The six most popular processors are displayed at the top. Other supported processors can be selected from the dropdown field at the bottom.
NOTE
The currency settings cannot be changed after setup. If you do need to make changes to the currency at a later date, you will need to add a new version of your merchant account in Registration.
Additionally, many processors require that the currency is set at their level. If that is the case for the processor that you have selected, a warning note will display on the next page, letting you know that the currency settings in Registration will be used for display purposes only. This feature is only available on our custom branded LMS clients. Clients who are able to edit their site via the site editor will continue to use the certificate templates currently available.
Step 2: Enter API Details
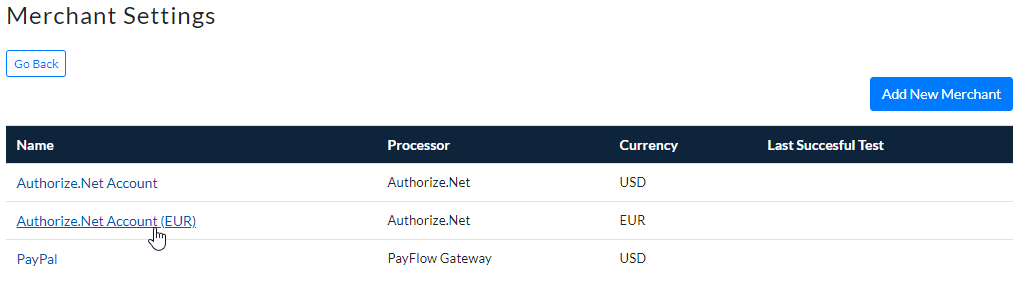
Click on the merchant name to provide the API details needed to connect to your processor.
The content of the next page will vary based on the type of processor you have selected; however, it will contain the following sections:
Alerts
Any alerts specific to the processor selected will display at the top of the page in a yellow banner.
For example, if you have selected a non-USD currency for a processor that requires currency settings on their level, you would see a message alerting you to that fact. (Fig. 1)

Fig. 1 - Alert banner example
Basic Information (Fig. 2)
- Merchant Name - This is for your reference only and is set so that you can easily identify the merchant account later. This does not affect the API integration with your processor.
- Currency - This is set while creating the merchant account and cannot be changed. If you need to switch to a different currency, you must create a new version of the merchant account.
- Additional fields - Fields (specific to the processor) where you will enter the API details necessary to connect to your payment processor. For example, Authorize.Net requires an API Login ID and Transaction Key.
- Require a CSC Code on all Credit Card forms - Check this box to require that the card security code is provided for all transactions.
- Allow Pay by E-Check - If your payment processor supports e-checking, you can enable this payment method.

Fig. 2 - Basic Merchant info
Supported Credit Cards
Check the box next to each of the credit card types that your merchant account is set up to process. This controls which credit card types display in your forms.

Once you have completed the Basic Information and Supported Credit Cards section, scroll to the top of the page and click the Save Changes button.
Change Log (Fig. 3)
A history of all changes that have been made to this merchant account. The change log will include:
- Admin - The email address of the user who made the change
- Type - The type of change
- Date/Time - The date and time of the change
- Message - A description of the change

Fig. 3 - Illustration of Change Log
Step 3: Complete a Test Transaction
The setup of a merchant account is not considered complete until a test transaction has been completed successfully. You will need to complete a test transaction before you can assign the merchant to a meeting.
Select the Test Merchant button at the top of the page. (Fig. 4)

Fig. 4 - Completing a test transaction
The Test Merchant form will open in a new window and prompt you for your billing address and credit card information. You will be charged $1 and then refunded after the transaction has been completed. (Fig. 5)

Fig. 5 - Entering test transaction billing information
If the transaction is not successful, you will see an error message indicating why it did not go through. Select Go Back and Try Again to return to the test transaction form and update billing/credit card details or select Close Window to return to the merchant screen to make adjustments to the setup. (Fig. 6)

Fig. 6 - Test transaction error message
If the transaction is successful, you will see a success message indicating that the transaction went through. Your $1 transaction will be refunded automatically and you will receive an email as soon as the refund has occurred. Please allow for up to 24 hours for the refund to be processed. (Fig. 7)

Fig. 7 - Test transaction success message
Last modified Dec 11, 2025
Was this article helpful?
That’s Great!
Thank you for your feedback
Sorry! We couldn't be helpful
Thank you for your feedback
Feedback sent
We appreciate your effort and will try to fix the article