- In order to make a meeting live, click on the Meeting Merchant Settings page under the Meeting Wizard header.
IMPORTANT NOTE
This article references the classic method for managing your event’s firm merchant settings. Registration will be transitioning to use Cadmium Payments, Cadmium’s centralized credit card processing, beginning on January 5th, 2026. Events created after Jan 5th, 2026 will default to use Cadmium Payments. Learn more about Cadmium Payments here.
Test Mode
All new meetings, whether they have been built from scratch or cloned, will be placed into test mode upon creation. Test mode allows you to test the form and complete transactions without being charged.
While a meeting is in test mode, an alert will display in red at the bottom of the form that states:
This site is in TEST mode. Your registration data will not be permanently saved. Credit card processing is disabled. Any card data entered, regardless of accuracy, will be automatically approved as if it were a real transaction (Fig. 1).

Fig. 1 - Test mode alert
There will also be an alert in yellow at the top of the Control Center that states:
WARNING! This meeting is in TEST MODE and is NOT set up for Credit Card Processing (Fig. 2).

Fig. 2 - Warning message for credit card processing
As soon as you have switched the meeting from test mode to live mode, these alerts will disappear.
Any registrations that are completed while your meeting is in test mode will not be charged. You will have the option to clear any test registrations during the process of going live.
Going Live

- Click on the status toggle at the top of the page to switch from test mode to live mode.

- You will be prompted to confirm that you would like to begin the process of making the meeting live. Click OK to continue.

- The next page will display any registrations entered while in test mode. Click Clear Data and Continue to delete the test records and move to the next step or click Continue without clearing data to keep the test records and move to the next step.

- If you select Clear Data and Continue you will be prompted to confirm that you would like to permanently delete the test records. If you would like to delete the test records, click OK. Otherwise, click Cancel to return to the page and select Continue without clearing data.

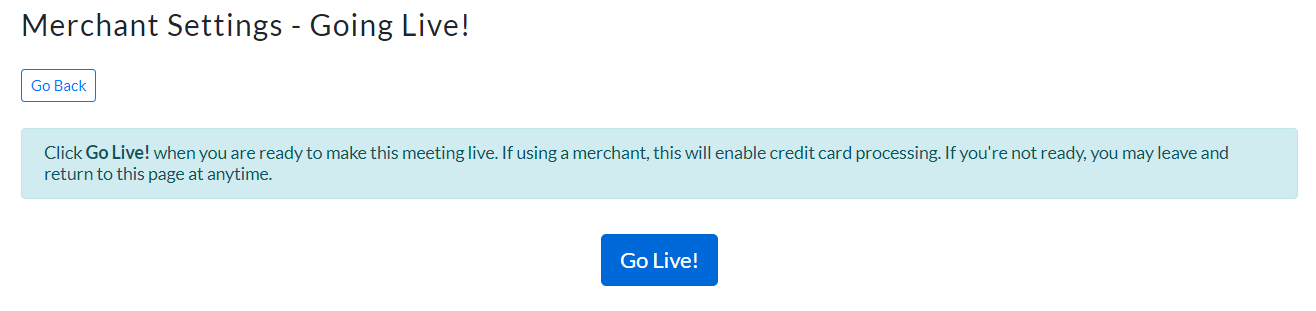
- Lastly, you will select Go Live! to complete the process. If you only wanted to clear test records and are not ready to go live, you can leave this page without clicking the Go Live! button. Simply return to the Meeting Merchant Settings page later to complete the process of going live.
NOTE
Some ERShow forms have settings that update the staff allowances in booths based on the fees an exhibitor purchases. If those settings are enabled and test purchases were completed, those staff allowances have been saved regardless of whether the test data has been cleared.
- When those settings are in place, the going live process will alert you to that fact and display the staff allowances set for the booths. Please review and update the staff allowances manually as needed.

If you are not using ERShow or do not have these settings enabled for your ERShow meeting, this step in the process will not display.
Last modified Dec 11, 2025
Was this article helpful?
That’s Great!
Thank you for your feedback
Sorry! We couldn't be helpful
Thank you for your feedback
Feedback sent
We appreciate your effort and will try to fix the article